


Vinyl fence solar caps are an eco-friendly, stylish way to illuminate your outdoor space while enhancing the aesthetic and safety of your vinyl fence. These solar-powered lights fit atop fence posts, requiring no wiring and minimal maintenance. For DIY homeowners looking to upgrade their vinyl fences, installing solar caps is a straightforward project that can be completed in a few hours. This step-by-step guide covers everything you need to know, from measuring posts to securing caps, ensuring solar panel exposure, and maintaining your lights. We’ll also address common issues, such as loose PVC posts, and provide visual aids and maintenance tips to ensure long-lasting performance.
Why Choose Vinyl Fence Solar Caps?
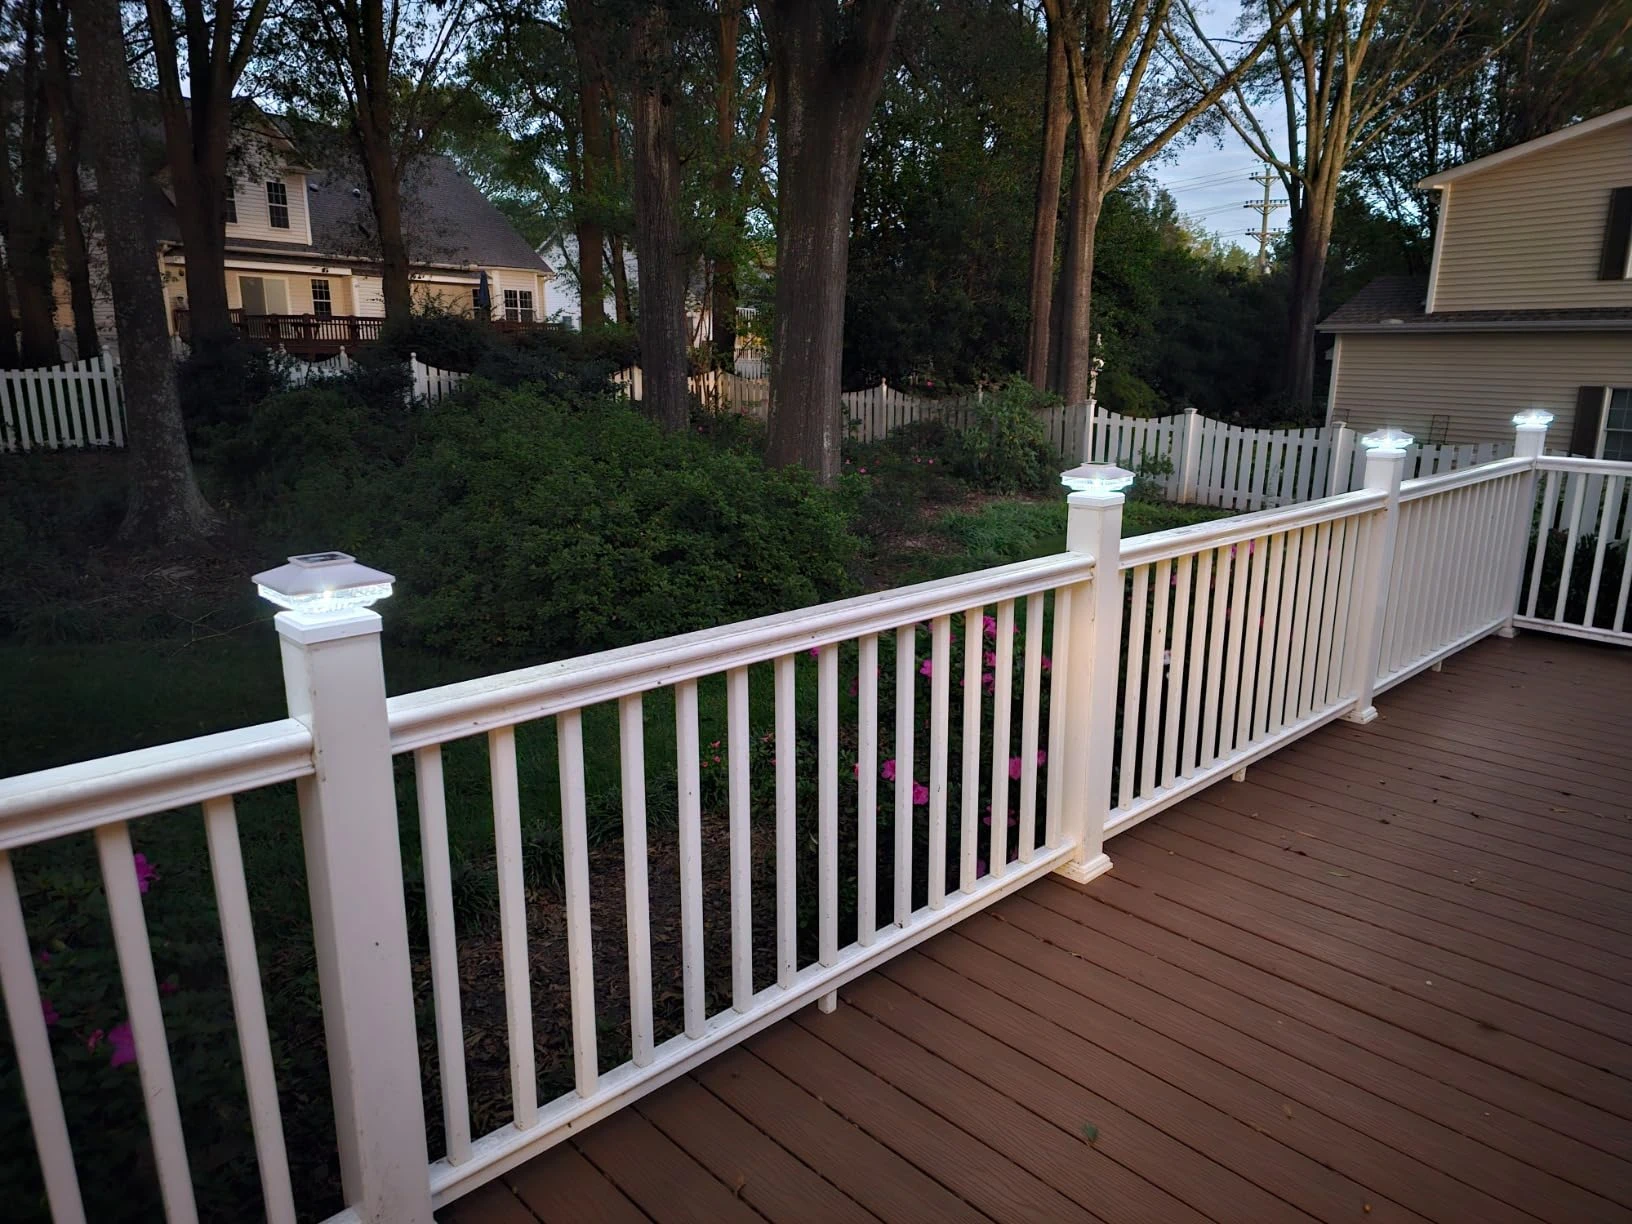
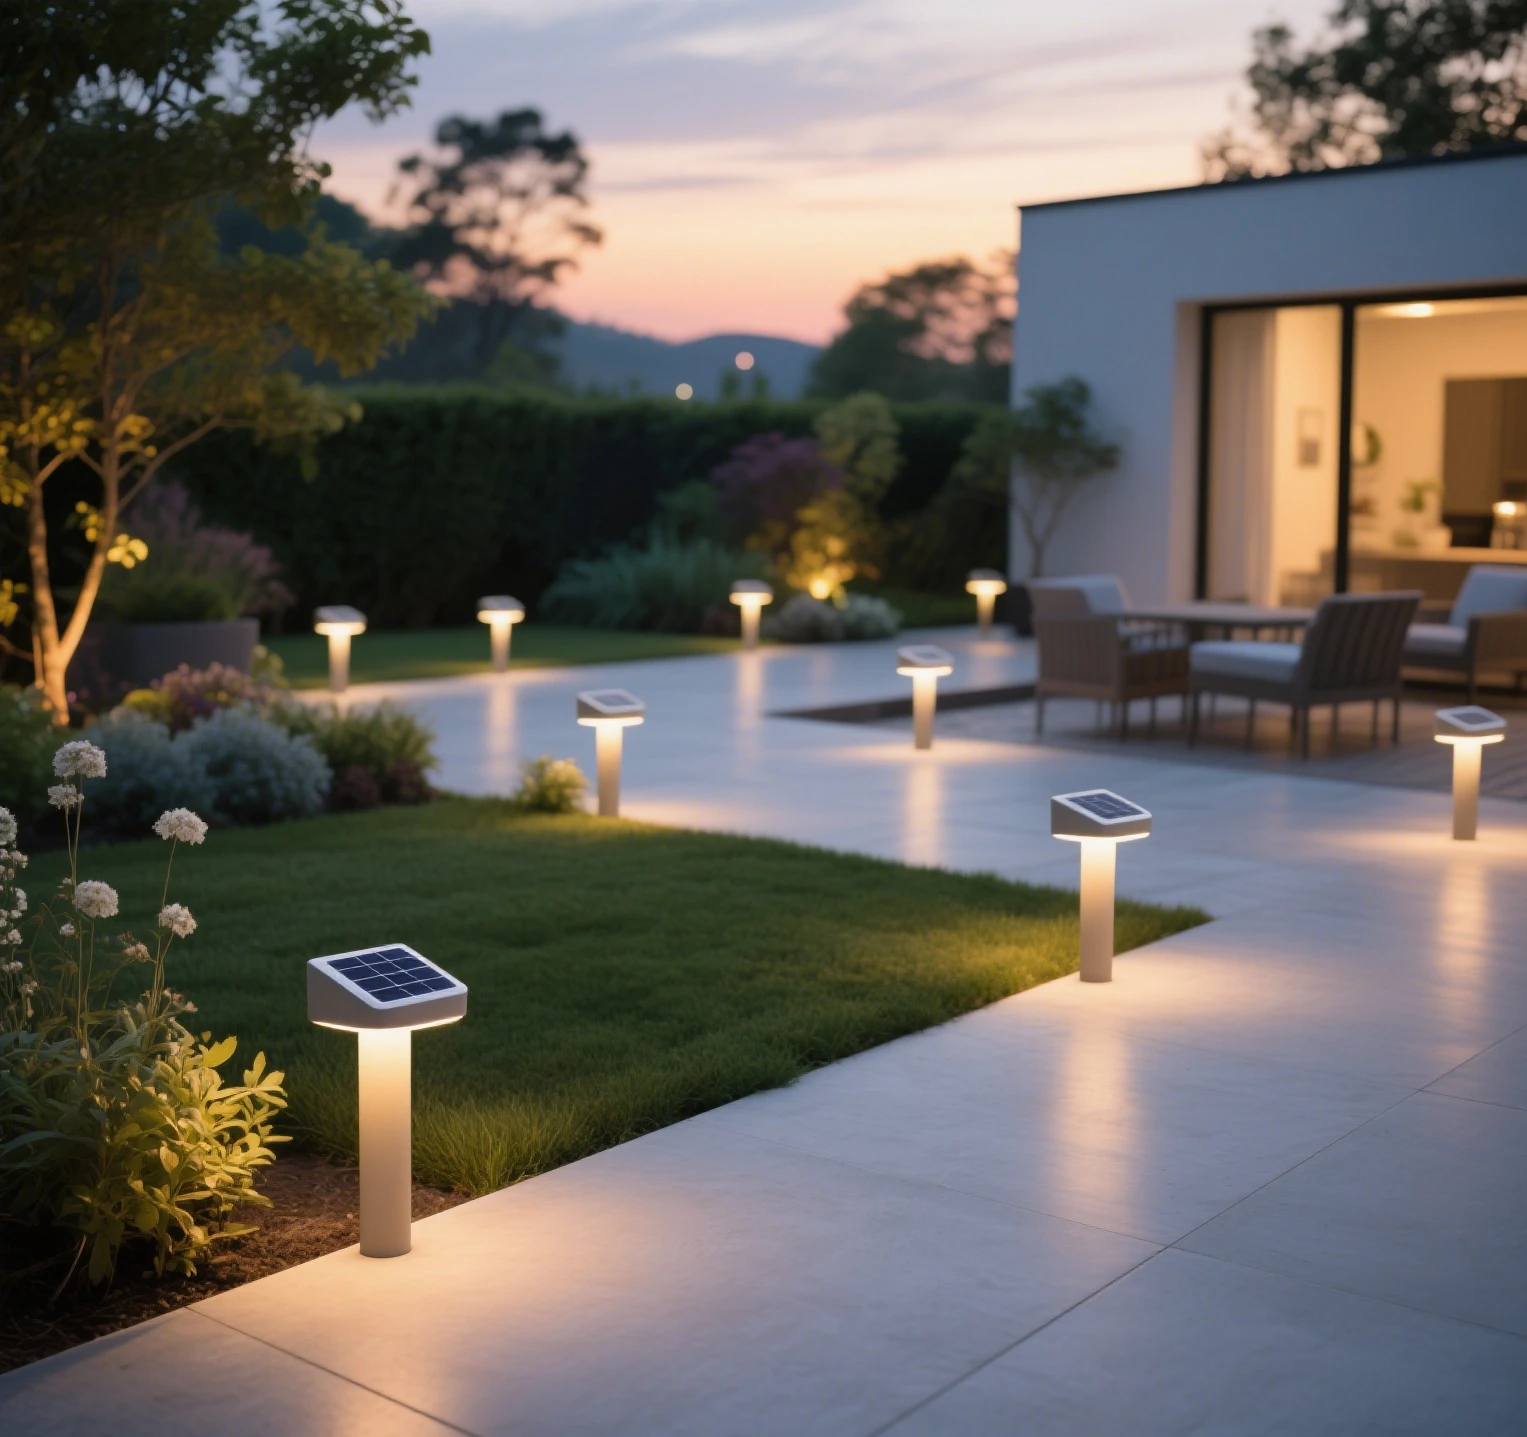
Vinyl fence solar caps are small, solar-powered lights designed to sit on top of vinyl fence posts. They harness sunlight to power LEDs, providing ambient or functional lighting without electricity costs. Their benefits include:
- Energy Efficiency: Solar caps reduce energy bills and environmental impact.
- Easy Installation: No wiring or electrical expertise is required.
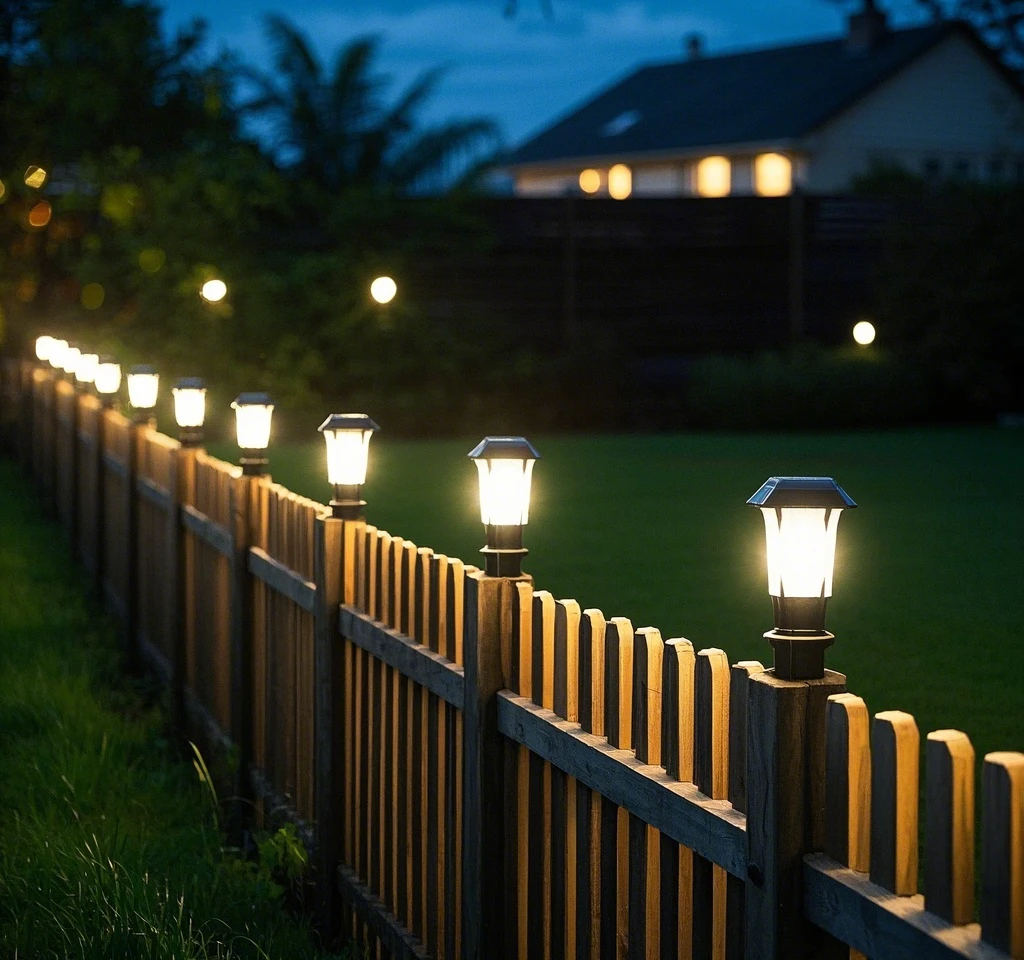
- Aesthetic Appeal: They complement the sleek, modern look of vinyl fences.
- Low Maintenance: Durable materials withstand weather, with minimal upkeep.
Before starting, ensure you have the right tools and materials. This guide assumes you’re working with standard 4×4 or 5×5 vinyl fence posts, though adjustable solar caps can fit other sizes.
Tools and Materials Needed
- Vinyl fence solar caps (ensure they match your post size)
- Tape measure
- Screwdriver or drill (with appropriate bits)
- Level
- Cleaning cloth and mild soap (for post preparation)
- Adhesive (optional, for extra security)
- Screws or mounting hardware (often included with solar caps)
- Ladder (if posts are tall)
Step-by-Step Installation Guide
Follow these steps to install vinyl fence solar caps with precision and ease.
Step 1: Measure Your Fence Posts
Accurate measurements ensure your solar caps fit securely. Use a tape measure to check the width and length of each post’s top surface. Most vinyl fence posts are 4×4 inches or 5×5 inches, but custom sizes exist. Verify that your solar caps are compatible with your post dimensions. If your caps have adjustable bases, confirm the range (e.g., 3.5×3.5 to 5×5).
Tip: Measure multiple posts, as slight manufacturing variations can occur.
Step 2: Clean the Post Surface
Dirt or debris can prevent a secure fit. Wipe the top of each post with a cloth and mild soap solution, then dry thoroughly. This ensures screws or adhesive bond properly and maximizes the cap’s stability.
Step 3: Test-Fit the Solar Cap
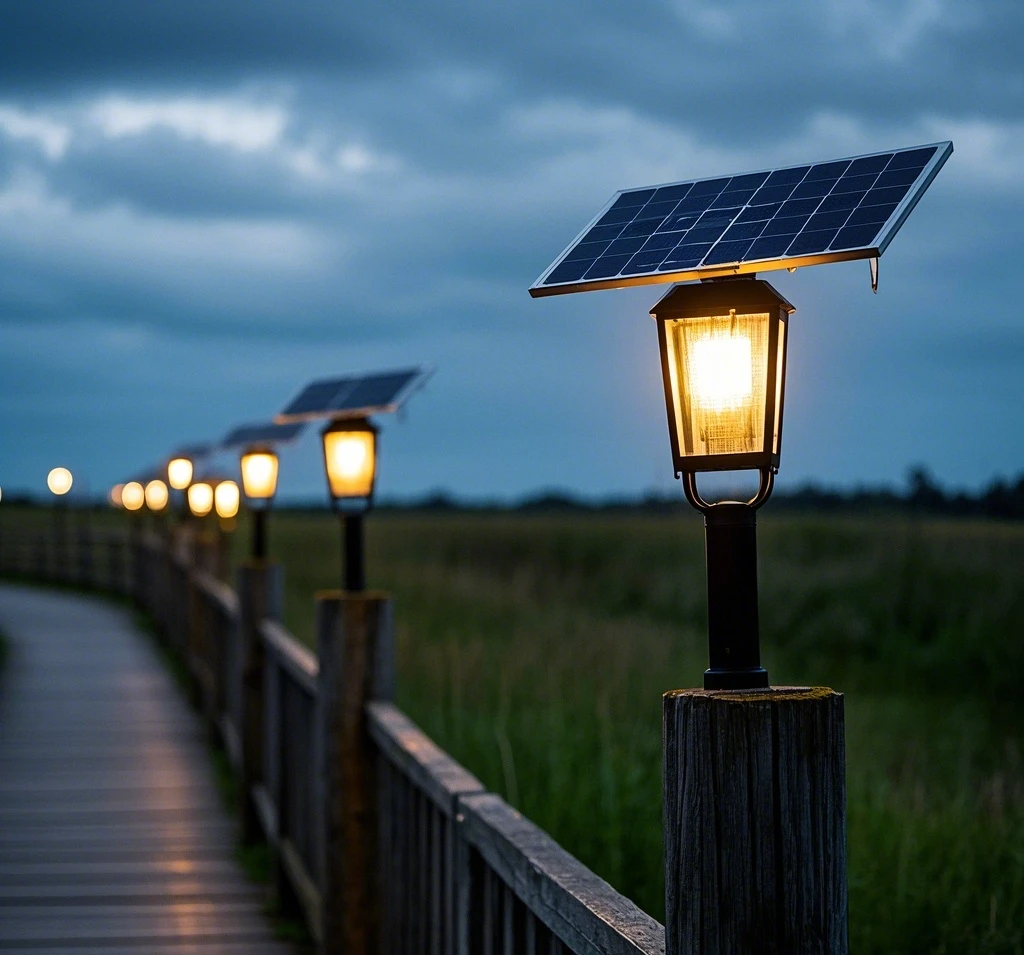
Place the solar cap on the post without securing it. Check that it sits flush and level using a level tool. Ensure the solar panel faces upward and isn’t obstructed by nearby objects like trees or overhangs, as this affects charging efficiency.
Step 4: Secure the Solar Cap
Most solar caps come with screws or mounting brackets. Align the cap on the post and mark screw holes with a pencil. Use a screwdriver or drill to fasten the screws through the cap’s base into the vinyl post. Avoid over-tightening, as this can crack the PVC. If your cap uses adhesive, apply a thin layer to the post’s top, press the cap firmly, and hold for 30 seconds.
Tip: If screws aren’t provided, use weather-resistant stainless steel screws (1-1.5 inches long).
Step 5: Check Stability and Alignment
Gently wiggle the cap to ensure it’s secure. Use the level again to confirm it’s even. A stable, level cap prevents water pooling, which could damage the solar panel or electronics over time.
Step 6: Test the Solar Cap
Wait until dusk to verify the light activates. Most solar caps have a photocell sensor that turns the LED on automatically at night. If the light doesn’t work, check that the solar panel was exposed to sunlight for 6-8 hours during the day. Some models have an on/off switch—ensure it’s set to “on.”
Tip: Charge the cap in direct sunlight for a full day before expecting optimal performance.
Maintenance Tips for Vinyl Fence Solar Caps
To keep your solar caps shining brightly, follow these maintenance tips:
- Clean the Solar Panel: Every 2-3 months, wipe the panel with a damp cloth to remove dust, pollen, or bird droppings. This ensures maximum sunlight absorption.
- Check Battery Health: Most solar caps use rechargeable Ni-MH or Li-ion batteries. If the light dims after a year or two, replace the battery (check the manufacturer’s specifications for compatibility).
- Inspect for Damage: After storms, check for cracks or loose screws. Tighten or replace as needed.
- Avoid Obstructions: Trim nearby branches or foliage that may shade the panel, reducing charging efficiency.
- Winter Care: In snowy climates, gently brush snow off the panel to maintain functionality.
Common Issues and Solutions
Installing vinyl fence solar caps is usually straightforward, but issues can arise. Here are solutions to common problems.
Issue 1: Loose PVC Posts
Problem: Some vinyl posts wobble, making it hard to secure the cap. Solution: Check the post’s base. If it’s loose in the ground, reinforce it with concrete or a stabilizing stake. For posts loose within a sleeve, use PVC shims or adhesive to tighten the fit before installing the cap.
Issue 2: Solar Cap Doesn’t Light Up
Problem: The light fails to illuminate at night. Solution: Ensure the panel received 6-8 hours of direct sunlight. Check the on/off switch and battery connection. If the issue persists, the battery or LED may be faulty—contact the manufacturer for a replacement.
Issue 3: Poor Fit on Non-Standard Posts
Problem: The cap doesn’t fit your post size. Solution: Use adjustable caps or purchase adapters (available at hardware stores). Alternatively, custom-order caps from specialty retailers.
Issue 4: Water Seepage
Problem: Water pools around the cap, risking damage. Solution: Ensure the cap is level and sealed properly. Apply silicone sealant around the base for extra protection in rainy climates.
Key Considerations Before Installing
- Post Compatibility: Confirm your posts are vinyl and match the cap’s size specifications.
- Lighting Needs: Choose caps with appropriate lumens (10-15 for ambiance, 20-30 for visibility).
- Weather Resistance: Opt for IP44 or IP65-rated caps for durability.
- Quantity: Calculate how many caps you need based on fence length and desired lighting coverage.
- Budget: Prices range from $10-$30 per cap. Bulk packs often offer savings.
Conclusion
Installing vinyl fence solar caps is a rewarding DIY project that enhances your outdoor space with minimal effort. By following this step-by-step guide, you can measure, secure, and maintain your solar caps with confidence. From ensuring proper solar panel exposure to addressing issues like loose PVC posts, this tutorial equips you with the knowledge to succeed. With regular maintenance, your solar caps will provide years of eco-friendly, low-cost lighting, making your vinyl fence both functional and beautiful. Start your project today and enjoy the glow of a well-lit fence!
Leave a Reply