


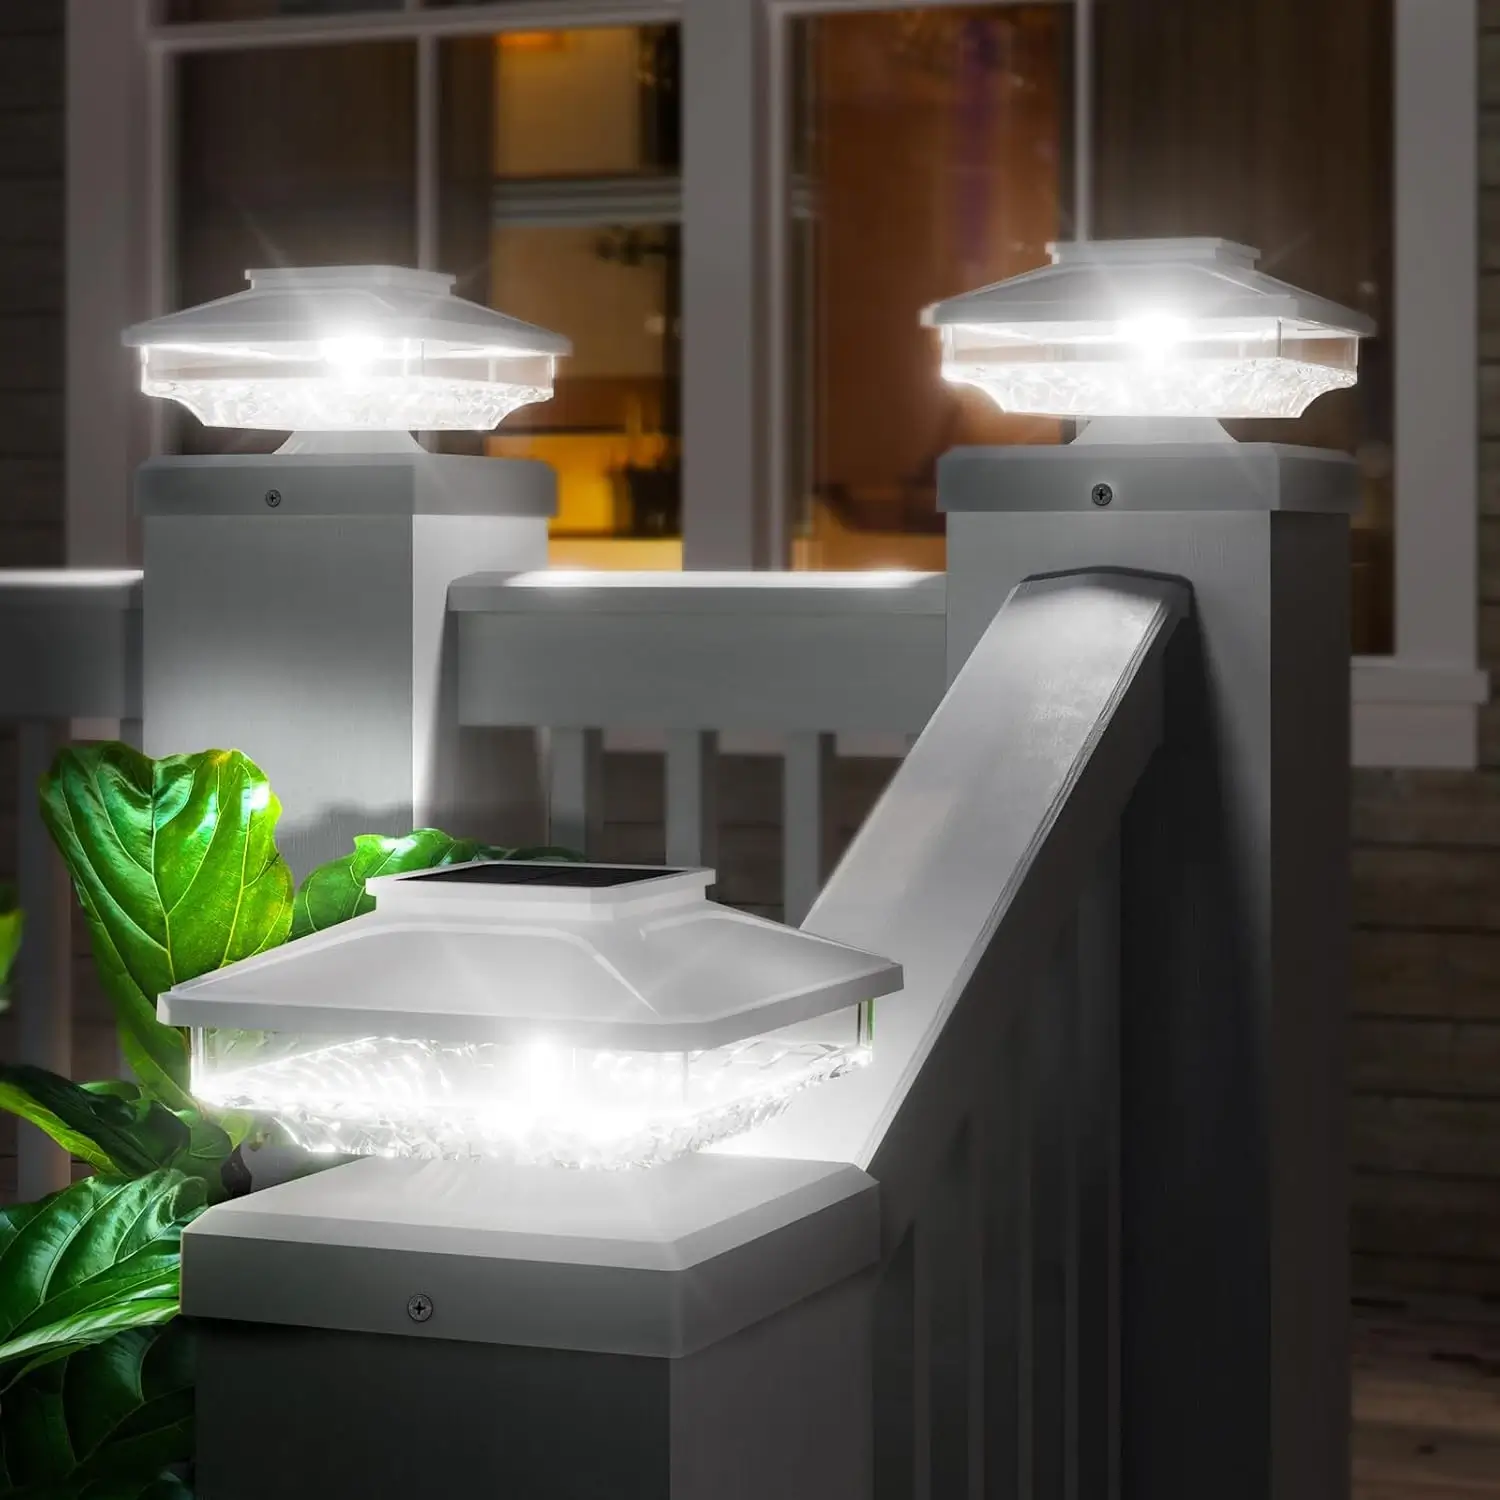
In the quest for sustainable and stylish outdoor lighting, Solar Deck Post Caps shine as a perfect blend of functionality and aesthetics. These innovative fixtures offer Eco-Friendly Lighting by harnessing solar energy, eliminating electricity costs and reducing carbon footprints. With no wiring required, Effortless Installation makes them a favorite for homeowners seeking Deck Lighting Solutions. Beyond their environmental benefits, Solar Deck Post Caps provide Smart Solar Lighting with features like automatic dusk-to-dawn operation, enhancing both safety and ambiance. This article serves as a comprehensive guide to installing Solar Deck Post Caps, empowering readers with the confidence to transform their decks into beautifully lit, eco-conscious spaces with minimal effort.
Pre-Installation Preparation
Proper preparation is key to a smooth Solar Lighting Installation process, ensuring your Solar Deck Post Caps perform optimally.
Confirming Product and Accessories
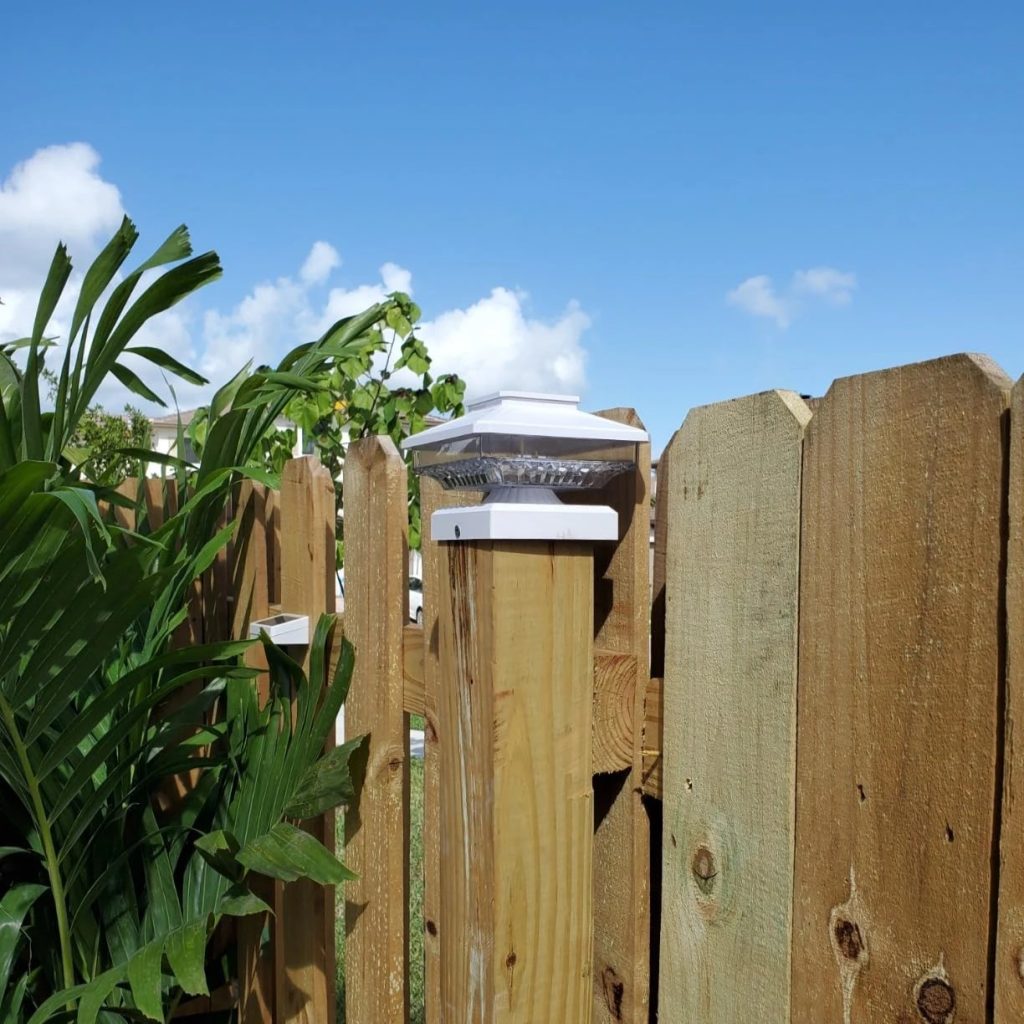
Before starting, verify that your Solar Deck Post Caps package includes all necessary components: the solar panel unit, LED light, battery, base, decorative cap, screws, and gaskets. Check for any damage, such as cracked panels or loose fittings, to avoid issues during installation. For example, a standard 4×4 or 6×6 post cap, like the GreenLighting Solar Post Cap Light, typically includes these items. Ensure compatibility with your deck post size (e.g., 3.5”x3.5” or 5.5”x5.5”) to guarantee a snug fit.
Preparing Installation Tools
Gather essential tools: a screwdriver (Phillips or flathead, depending on screws), a measuring tape, a level, a pencil for marking, and a clean cloth for surface preparation. Optional tools include a drill for pilot holes (for hardwood posts) and a ladder for taller decks. Having these tools ready streamlines the Effortless Installation process, saving time and effort.
Choosing the Ideal Location
Select installation spots based on sunlight exposure and aesthetic appeal. Solar Deck Post Caps require at least 6 hours of direct sunlight daily to charge effectively, so avoid shaded areas under trees or overhangs. Consider visual balance—place caps evenly along railings or at key points like corners to enhance the deck’s design. This strategic placement optimizes both Eco-Friendly Lighting and Deck Lighting Solutions.
Step-by-Step Installation Process
Installing Solar Deck Post Caps is straightforward, requiring no electrical expertise. Follow these steps for a seamless Solar Lighting Installation.
Step 1: Clean the Deck Post Top
Ensure the top of each deck post is clean and flat. Use a damp cloth to remove dirt, dust, or debris, and dry thoroughly to prevent slippage. For weathered posts, lightly sand the surface to ensure a smooth base for the cap. This step is crucial for securing Solar Deck Post Caps and maintaining their stability.
Step 2: Positioning and Marking
Measure the post top to confirm it matches the cap’s base dimensions. Place the base on the post, using a level to ensure it sits evenly. Mark screw hole locations with a pencil. For precision, double-check measurements, as uneven placement can affect the appearance of Deck Lighting Solutions. If drilling pilot holes, use a bit slightly smaller than the screws to ease installation.
Step 3: Securing the Base
Attach the base to the post using the provided screws and a screwdriver. For wooden posts, tighten screws firmly but avoid over-tightening, which can strip the wood. For vinyl or composite posts, ensure gaskets are used to prevent cracking. This step anchors the Solar Deck Post Caps securely, ensuring durability against wind or vibration.
Step 4: Installing the Solar Component
Connect the solar panel unit to the base, typically via a snap-in or screw-on mechanism. Ensure any internal wiring (if present) is neatly tucked to avoid damage. Align the solar panel to face south (in the Northern Hemisphere) for maximum sunlight capture, enhancing Eco-Friendly Lighting efficiency. Check that the connection is secure to prevent loosening over time.
Step 5: Attaching the Decorative Cap
Place the decorative cap over the solar unit, ensuring it clicks or screws into place. This final step completes the aesthetic of Solar Deck Post Caps, blending functionality with style. Verify that the cap is level and secure, contributing to the polished look of your Deck Lighting Solutions.
Post-Installation Testing and Adjustments
After installation, thorough testing ensures your Solar Deck Post Caps function as intended.
Checking Installation Stability
Inspect each cap for stability by gently pressing or shaking it. Tighten any loose screws and ensure the base is flush with the post. A stable installation prevents wobbling, ensuring the longevity of Low Maintenance Solar Lights.
Testing Lighting Functionality
Test the lights by covering the solar panel to simulate darkness, triggering the LED. Most Smart Solar Lighting systems activate automatically at dusk, but manual testing confirms functionality. If the light doesn’t turn on, check battery insertion or solar panel cleanliness. This step ensures your Solar Deck Post Caps deliver reliable illumination.
Adjusting Angle and Position
If lighting coverage is uneven, adjust the cap’s position or angle to optimize sunlight exposure. Some models, like the Siedinlar Solar Post Lights, allow panel tilting. Fine-tuning enhances Solar Path Lighting effectiveness, ensuring even illumination across your deck.
Precautions and Maintenance Tips
To ensure safety and longevity, follow these guidelines for installation and upkeep of Solar Deck Post Caps.
Safety Precautions
- Electrical Safety: Although Solar Deck Post Caps require no wiring, ensure batteries are correctly installed to avoid short circuits.
- Height Safety: Use a stable ladder for elevated posts, and have a partner assist if needed.
- Tool Safety: Handle tools carefully, wearing gloves to protect against splinters or sharp edges.
Routine Maintenance
Solar Panel Maintenance is key to maintaining Low Maintenance Solar Lights. Clean the solar panel monthly with a damp cloth to remove dust or debris, ensuring optimal charging. Check batteries every 6-12 months, replacing them (typically $5-$10 each) if brightness fades. Inspect caps for weather-related damage, especially after storms, to maintain Eco-Friendly Lighting performance.
Troubleshooting Common Issues
- Dim or No Light: Clean the solar panel or replace the battery. Ensure the panel receives adequate sunlight.
- Loose Caps: Tighten screws or reapply adhesive if included. Check post integrity.
- Uneven Lighting: Reposition caps to avoid shadows or obstructions.
These Solar Light Troubleshooting tips resolve most issues, keeping your Solar Deck Post Caps functional with minimal effort.
Conclusion
Solar Deck Post Caps offer an unparalleled combination of Effortless Installation, Eco-Friendly Lighting, and aesthetic appeal, making them ideal Deck Lighting Solutions. Their wire-free design and Smart Solar Lighting features simplify setup, while Low Maintenance Solar Lights ensure long-term savings. By following this step-by-step guide, homeowners can transform their decks in hours, not days, with no need for professional help. From preparation to Solar Light Troubleshooting, every step is designed for ease and efficiency. Share your installation success or feedback with us, and join the growing community embracing Solar Path Lighting for a brighter, greener future.

Leave a Reply