


Solar lights outdoor motion sensor are an eco-friendly, cost-effective solution for illuminating driveways, gardens, and entryways while enhancing security. These lights harness solar energy to power bright LEDs, activated by motion sensors to provide light only when needed. Installing solar motion sensor lights is straightforward, requiring no electrical wiring, making it a DIY-friendly project. This comprehensive guide walks you through the step-by-step process of installing solar lights outdoor motion sensor, including choosing the optimal location, mounting hardware, setting up sensors, and maintaining your lights for long-term performance. We’ve also included illustrative descriptions and links to helpful videos for clarity.

Why Install Solar Motion Sensor Lights?
Solar-powered security lights offer numerous benefits, including energy savings, easy installation, and low maintenance. Unlike traditional wired lights, they rely on solar panels to charge batteries, eliminating the need for complex electrical setups. With PIR motion sensors (Passive Infrared Sensors), these lights detect movement within a specific range, providing instant illumination for safety and convenience. Whether you’re lighting a pathway or securing your property, proper installation ensures optimal performance and longevity.
Tools and Materials Needed
Before starting, gather the following:
- Solar lights outdoor motion sensor (e.g., Bitpott, Aootek, or Urpower models)
- Drill and drill bits
- Screwdriver
- Wall anchors and screws (usually included with lights)
- Measuring tape
- Pencil or marker
- Ladder (for high installations)
- Cleaning cloth (for solar panels)
- Optional: stud finder (for wall mounting)
Step-by-Step Installation Guide
Follow these steps to install your solar motion sensor lights effectively, ensuring they function optimally and enhance your outdoor space.
Step 1: Choose the Optimal Location
Selecting the right location is critical for solar security lights to maximize solar exposure and motion detection.
- Sunlight Exposure: Place the solar panel in an area receiving 6-8 hours of direct sunlight daily. Avoid shaded spots under trees, eaves, or structures.
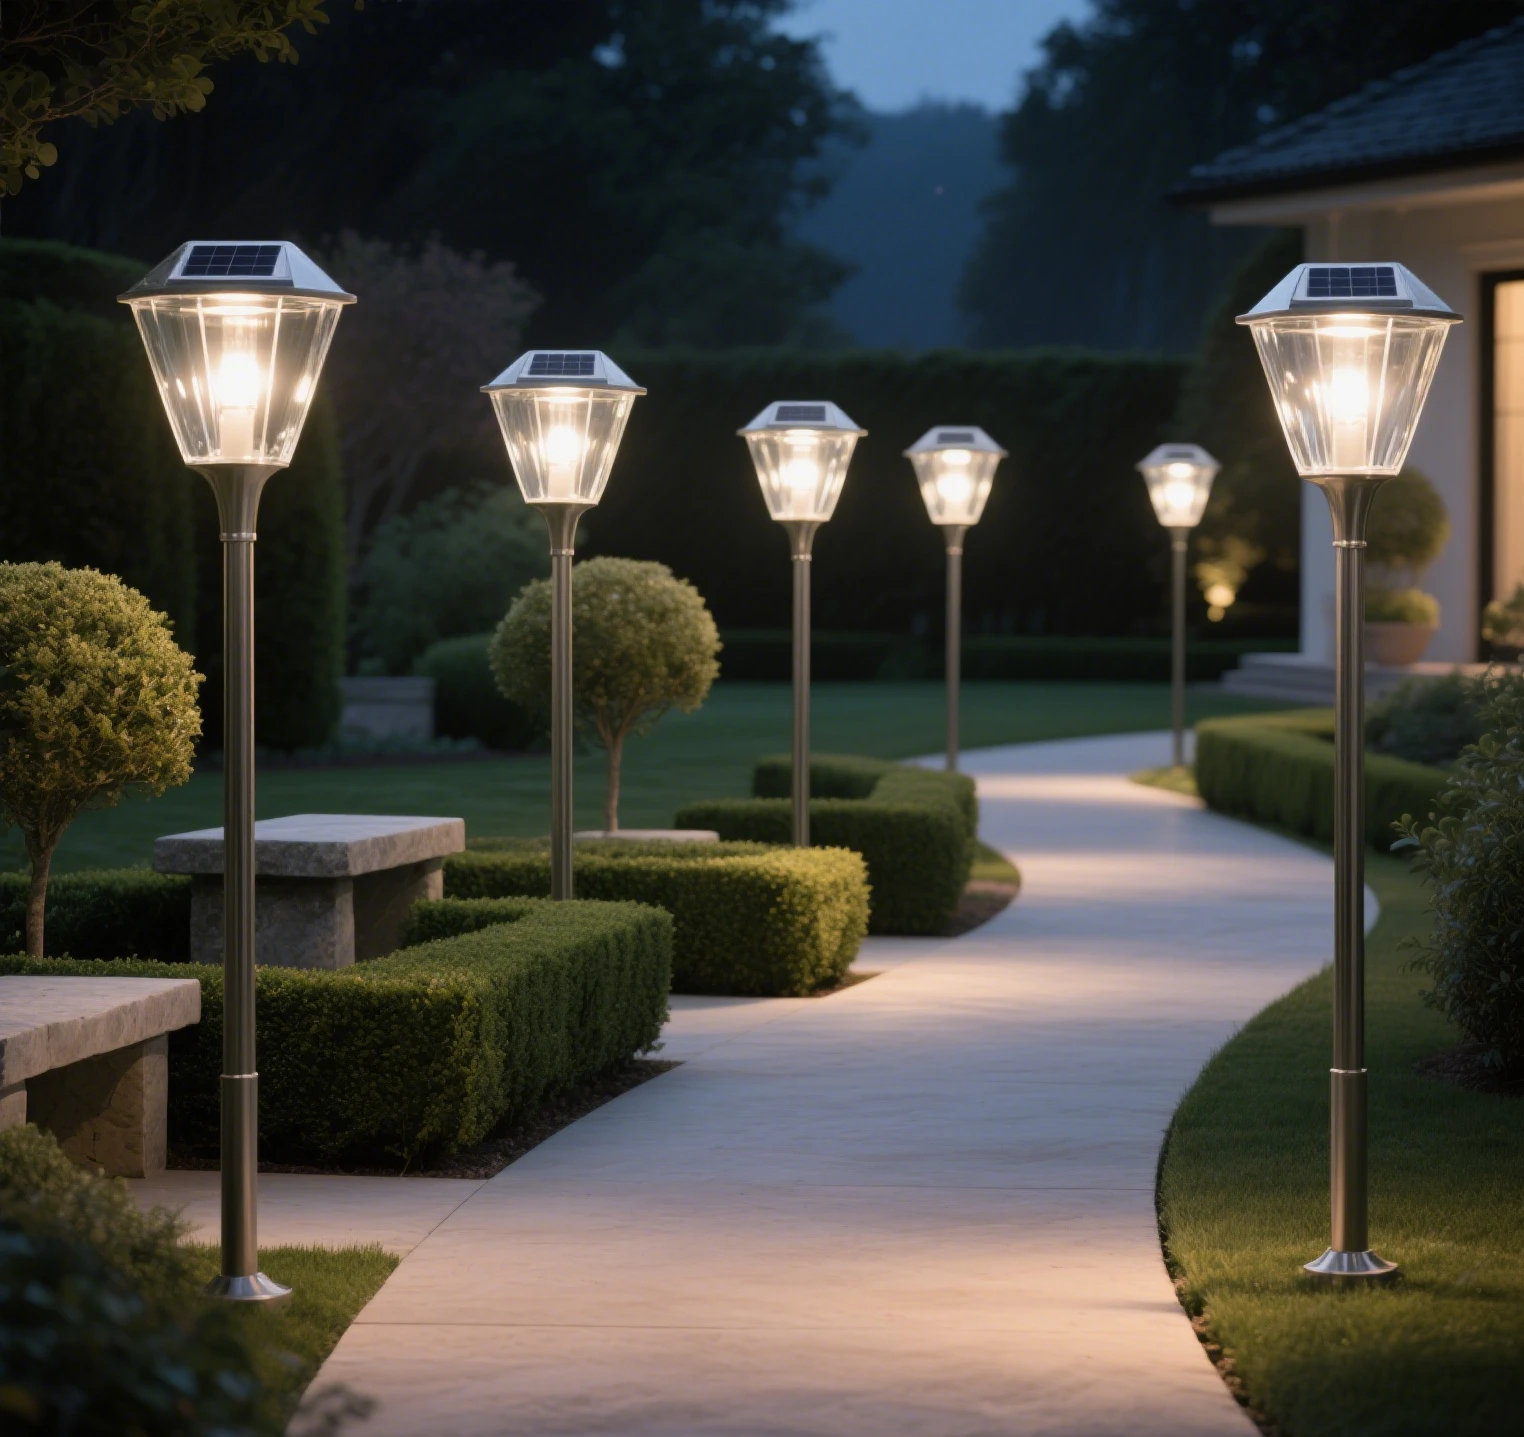
- Motion Detection Zone: Position the light to cover high-traffic areas like driveways, pathways, or entrances. Most lights, like the Bitpott model, have a detection range of 16-26 feet and a 120°-270° angle.
- Height: Mount lights 6-10 feet high for optimal sensor performance and illumination spread.
- Tip: Test the location by holding the light in place during the day to confirm sunlight exposure and at night to check the sensor’s range.
Illustration: Imagine a solar light mounted on a wall above a garage door, with the solar panel angled southward to capture maximum sunlight. The motion sensor covers the driveway, detecting movement up to 20 feet away.
Step 2: Plan the Installation
Before mounting, plan the setup to ensure accuracy and safety.
- Check the Surface: For wall-mounted solar LED floodlights, use a stud finder to locate studs for secure anchoring. For ground-mounted solar pathway lights, ensure the soil is firm for stakes.
- Mark the Spot: Use a pencil to mark screw holes or stake positions. Measure to ensure the light is level and at the desired height.
- Test the Light: Charge the light in sunlight for 6-8 hours before installation to confirm it works. Most models, like the Aootek, have an on/off switch to test functionality.
Step 3: Mount the Solar Light
Mounting methods vary depending on the light type (wall-mounted or stake-mounted).
- Wall-Mounted Lights:
- Drill pilot holes at the marked spots using a drill bit slightly smaller than the provided screws.
- Insert wall anchors (if mounting on drywall or masonry) to ensure a secure hold.
- Align the light’s mounting bracket with the holes and secure it with screws using a screwdriver.
- Attach the light to the bracket, ensuring the solar panel faces sunlight.
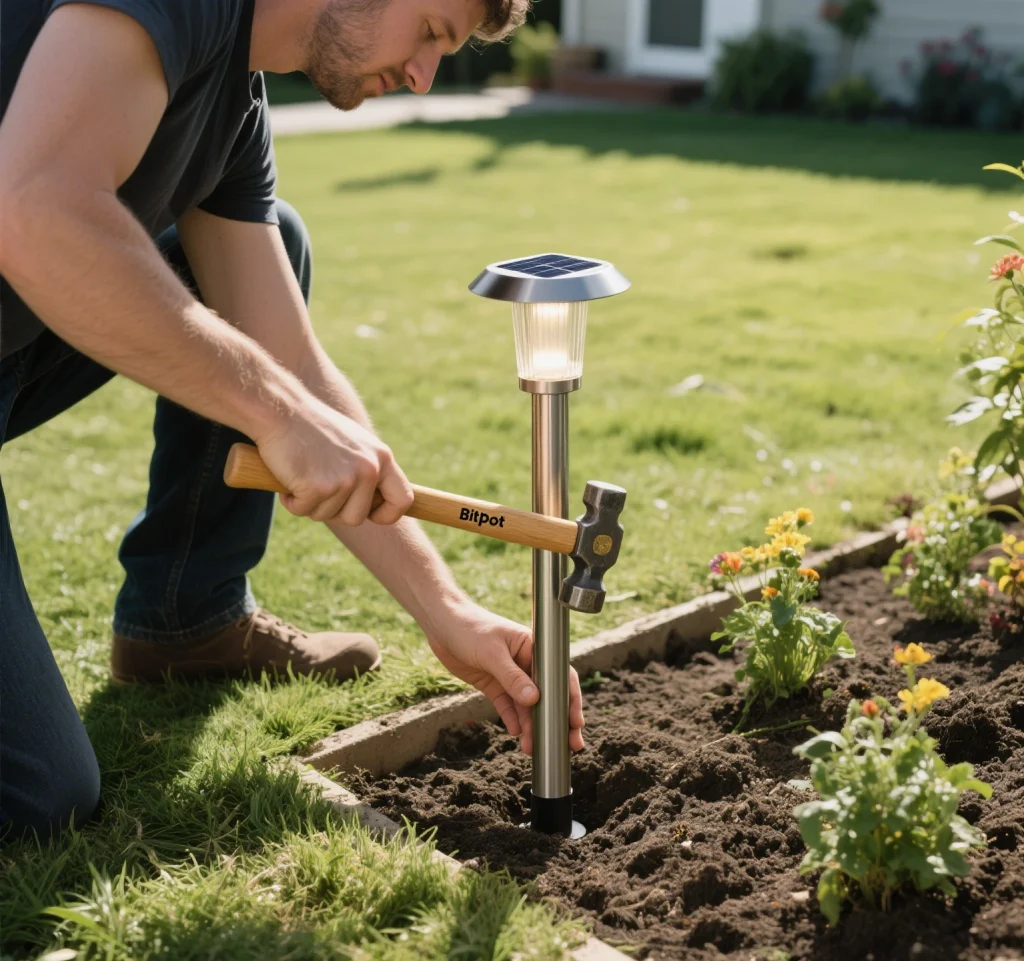
- Stake-Mounted Lights:
- Push the stake firmly into the ground at the marked spot, ensuring it’s stable.
- Attach the light to the stake, adjusting the angle to optimize motion detection and illumination.
- Tip: For models like the AloftSun, adjust the solar panel angle (if adjustable) to face south in the Northern Hemisphere for maximum sunlight.
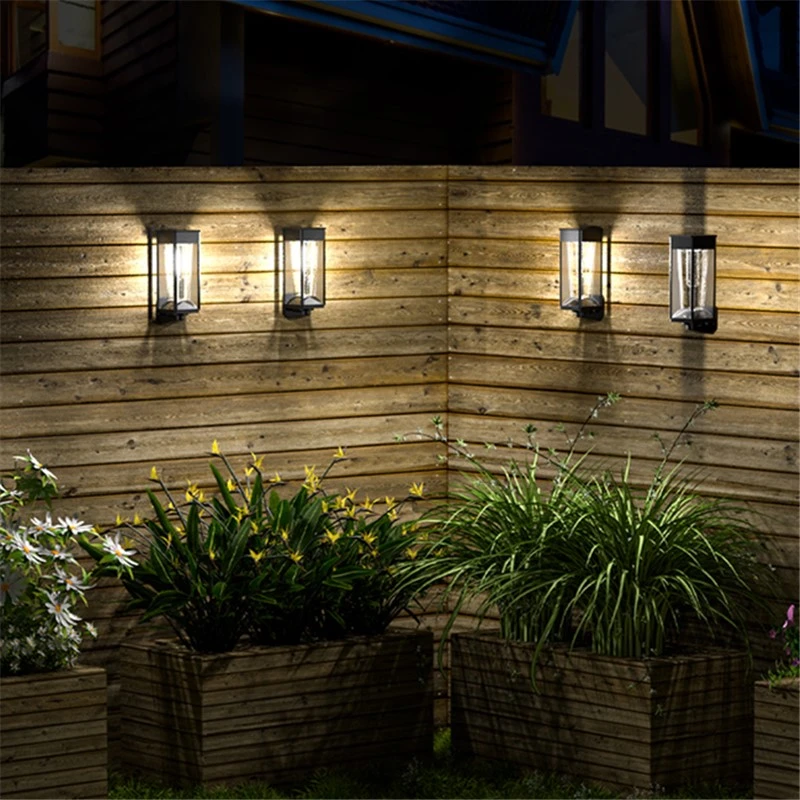
Illustration: Picture a wall-mounted light secured above a front door, with screws drilled into a wooden stud for stability. The solar panel tilts slightly upward to catch sunlight, while the sensor faces the walkway.
Step 4: Set Up the Motion Sensor
Proper sensor setup ensures the light activates reliably when motion is detected.
- Adjust Sensitivity: Most solar motion sensor lights allow sensitivity adjustments (e.g., low, medium, high). Set to medium to balance detection range and avoid false triggers from pets or wind.
- Set Lighting Modes: Common modes include:
- Motion-activated: Light turns on only when motion is detected.
- Dim-to-bright: Light stays dim and brightens with motion.
- Constant-on: Light stays on at low brightness for ambiance.
- Adjust Duration: Set how long the light stays on after motion (10 seconds to 4 minutes, depending on the model).
- Test the Sensor: Walk within the detection range at night to confirm the sensor activates and the light illuminates as expected.
Step 5: Secure and Test the Installation
After mounting and setting up, finalize the installation and test functionality.
- Secure Connections: Ensure all screws are tight and the light is firmly attached. For stake lights, confirm the stake is deep enough to prevent tipping.
- Test Day and Night: During the day, cover the solar panel to simulate nighttime and test motion detection. At night, verify the light’s brightness and coverage.
- Adjust Angles: Fine-tune the light or sensor angle to optimize coverage. For example, angle a solar wall lantern to illuminate a porch without blinding passersby.
Step 6: Regular Maintenance
To keep your solar-powered security lights performing optimally, follow these maintenance tips:
- Clean the Solar Panel: Wipe the panel with a damp cloth every 1-2 months to remove dust, dirt, or snow that reduces charging efficiency.
- Check Battery Health: Rechargeable batteries degrade over time (typically 1-2 years). Replace batteries if the light dims or fails to hold a charge.
- Inspect for Damage: Check for cracks, water ingress, or loose connections, especially after storms. Most lights, like those with IP65 or IP68 ratings, are weather-resistant but not immune to wear.
- Seasonal Adjustments: In winter, tilt the solar panel to a steeper angle to capture lower sunlight and clear snow buildup.
Illustration: Envision wiping a solar panel with a soft cloth, revealing its glossy surface to ensure maximum sunlight absorption. The light glows brightly at night, illuminating a garden path.
Common Installation Challenges and Solutions
- Challenge: Insufficient sunlight exposure.
- Solution: Relocate the light to a sunnier spot or trim overhanging branches. Consider models with detachable solar panels for flexible placement.
- Challenge: False sensor triggers from pets or wind.
- Solution: Lower the sensor sensitivity or adjust the angle to avoid ground-level detection.
- Challenge: Uneven or weak mounting surface.
- Solution: Use additional anchors or a mounting plate for stability. For soft soil, reinforce stakes with gravel.
Expert Tips for Optimal Performance
- Maximize Sunlight: In cloudy regions, choose high-efficiency solar panels (e.g., 21% conversion rate, as in some Bitpott models) to ensure consistent charging.
- Avoid Interference: Keep lights away from heat sources (e.g., HVAC vents) that can trigger PIR motion sensors falsely.
- Batch Installation: For multiple lights, install and test one at a time to avoid confusion with settings or placement.
- Smart Integration: Consider smart solar security lights like the Ring Solar Floodlight for app-based control, though they may require a hub for full functionality.
- Safety First: Use a stable ladder and have a partner assist for high installations to prevent falls.
Why Proper Installation Matters
Correct installation ensures your solar lights outdoor motion sensor deliver maximum brightness, reliable motion detection, and long-term durability. Poor placement or setup can lead to dim lighting, frequent false triggers, or premature battery failure. By following this guide, you’ll achieve optimal performance, enhancing both safety and aesthetics. For example, a well-installed light can deter intruders by illuminating a dark driveway or guide guests safely along a pathway.
Conclusion
Installing solar motion sensor lights is a simple, rewarding project that boosts your home’s security and curb appeal while reducing energy costs. By carefully selecting a sunny location, securely mounting the light, and fine-tuning the motion sensor, you can ensure reliable performance year-round. Regular maintenance, like cleaning the solar panel and checking battery health, extends the lifespan of your solar-powered security lights. Whether you choose a sleek model like the Bitpott or a budget-friendly option like the Urpower, this guide equips you with the knowledge to install and maintain your lights effectively. Light up your outdoor space with confidence and enjoy the benefits of sustainable, motion-activated illumination.
Leave a Reply