


Last summer, I noticed my basil plants were growing sluggish, their leaves too small for a decent pasta sauce. Worse, one evening while pinching leaves for dinner, I grabbed the wrong ones in the dark, ending up with a bland spaghetti. As a North American homeowner who loves cooking with homegrown herbs and veggies like basil and cherry tomatoes, I know the struggle of poor light slowing growth and nighttime harvesting turning into a guessing game. That’s where yard herb planter solar lights come in—they boost plant growth with the right light spectrum and make nighttime picking a breeze. This guide shares how I use solar lights to grow healthier herbs and vegetables in my backyard planter boxes, ensuring they thrive and are easy to harvest, day or night.
Why Solar Lights Are a Must for Edible Gardens
Herbs and low-growing vegetables like basil and cherry tomatoes need 6-8 hours of sunlight daily to flourish, but cloudy days or shady yards can stunt their growth. Nighttime harvesting is another challenge—without proper light, it’s easy to snip the wrong leaves or damage plants. Traditional grow lights are bulky and need outlets, which isn’t practical for outdoor planters. Yard herb planter solar lights solve both problems: they provide full-spectrum light to mimic sunlight for growth and targeted illumination for safe, accurate harvesting. Plus, they’re made with food-safe materials, ensuring your herbs stay edible. As someone who loves tossing fresh basil into a dish, I’ve found these lights transform my garden’s yield and make cooking with homegrown ingredients stress-free.
Here’s how I set up my planter boxes with three types of solar lights: one for growth, one for harvesting, and one for the watering area. I’ll also cover safety features and seasonal tweaks to keep your plants thriving.
Light Types for Your Herb and Vegetable Planter
Each part of an edible garden has unique lighting needs. The plants need specific wavelengths to grow strong, harvesting requires clear but gentle light, and the watering area needs safe navigation. After experimenting in my backyard, I found three types of yard herb planter solar lights that make growing and picking herbs like basil and cherry tomatoes a joy. Below, I list each type, where to place it, and why it works.
- Growth Boost: Solar Full-Spectrum Grow Lights
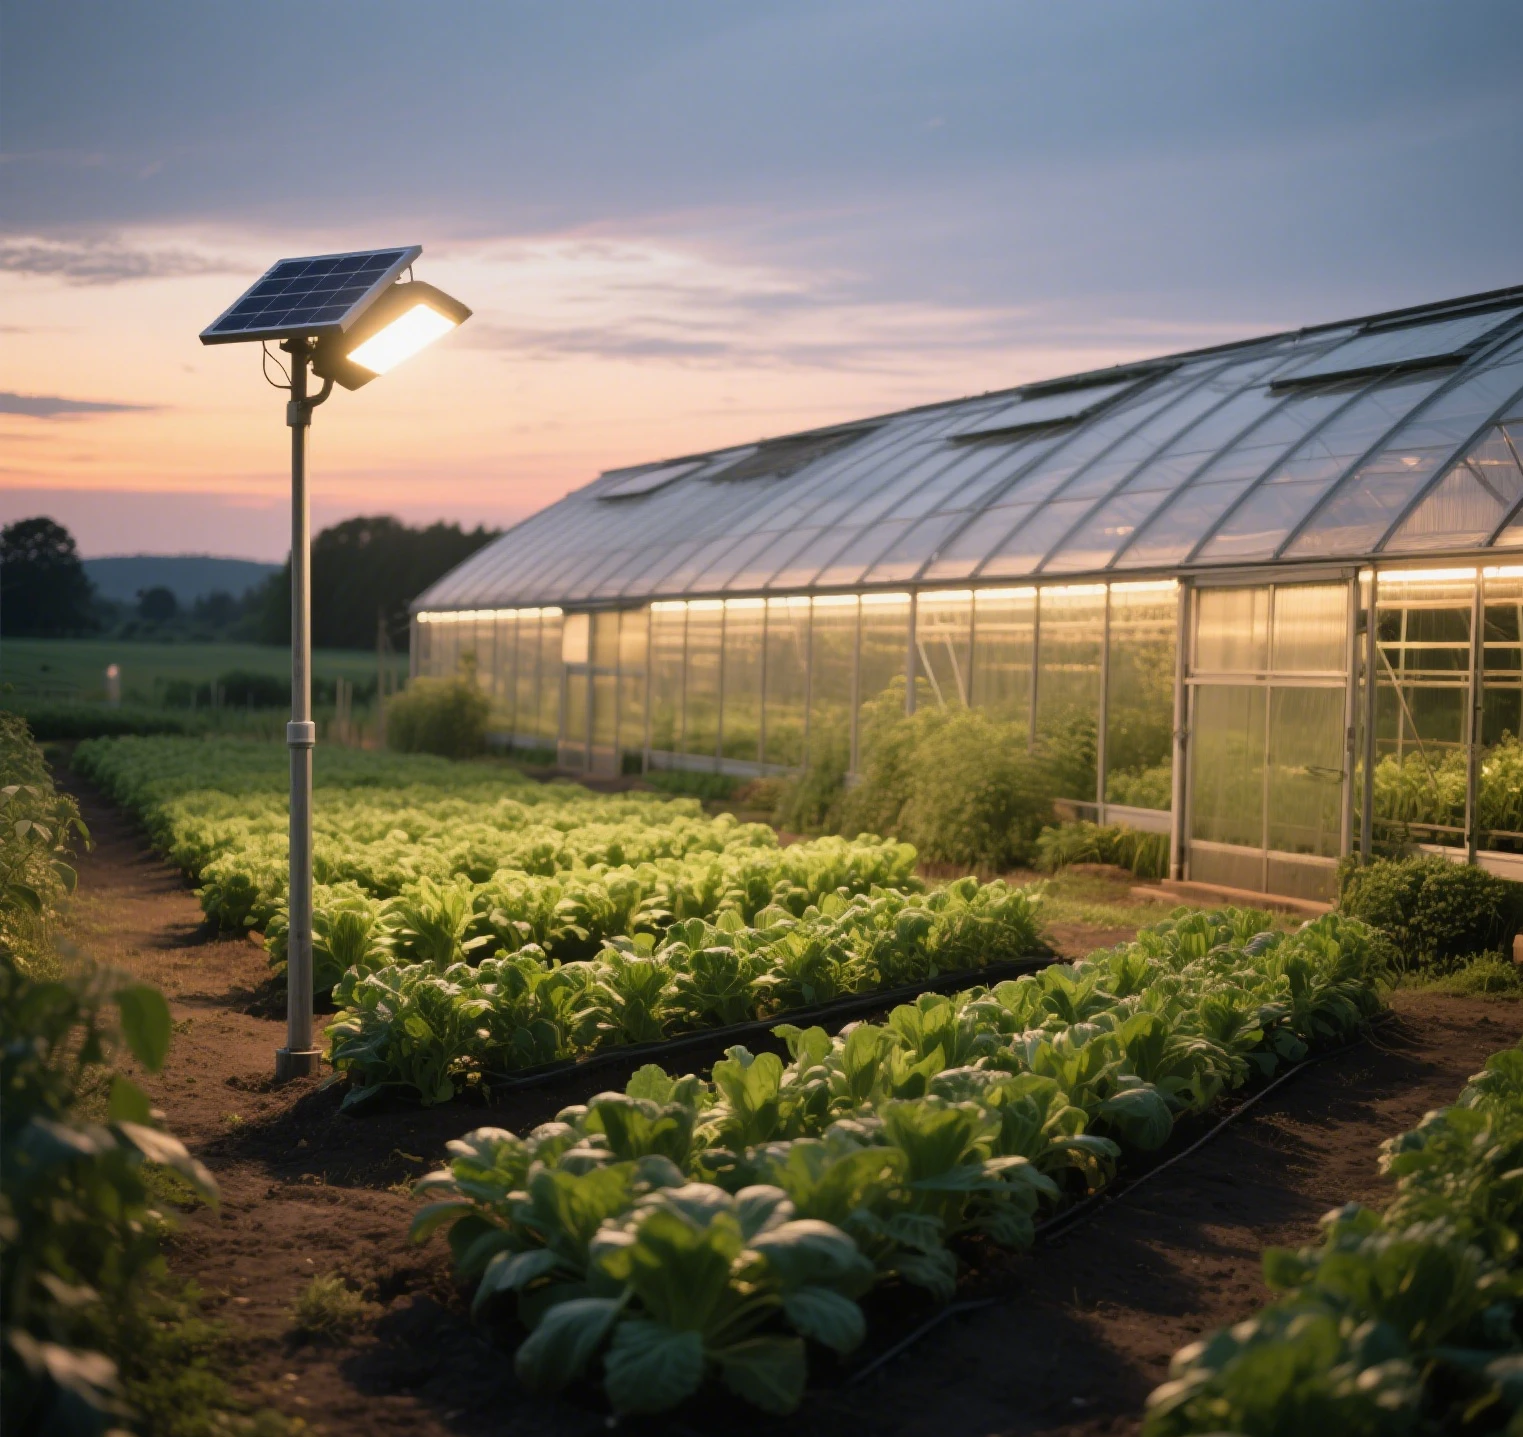
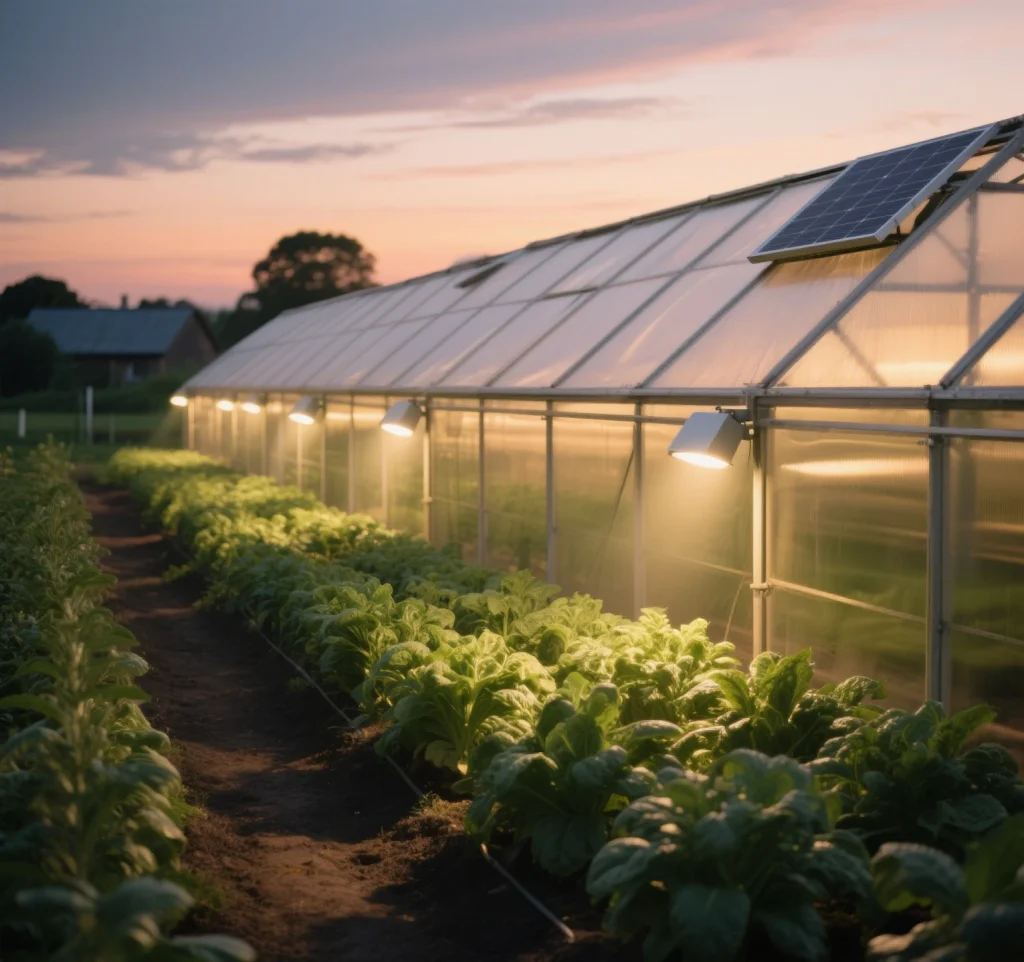
For my basil and cherry tomato planters, I use solar full-spectrum grow lights hung 24 inches (60 cm) above the soil. These emit 200 lumens of light in the 400-700nm range, mimicking natural sunlight to promote photosynthesis without causing leggy growth. I set them to run 6 hours daily, supplementing natural light on cloudy days or in shady spots. The lights hang from a simple frame over my raised planter boxes, charging via solar panels placed in a sunny corner of the yard.
Why it works: The full-spectrum light fuels robust growth, increasing leaf size and tomato yield without overheating plants.
Best for: Raised planters or boxes with herbs and low-growing vegetables. - Harvesting: Solar Stick-On Mini Lights
Nighttime harvesting used to mean fumbling with a flashlight or picking the wrong leaves. Now, I use 60-lumen warm white (3000K) solar stick-on mini lights attached to the sides of my planter boxes. These turn on manually with a small switch, casting a soft glow over the leaves without shining into the soil or roots, which could disrupt growth. They’re perfect for spotting the ripest cherry tomatoes or the best basil leaves for a late-night pesto.
Why it works: The warm, focused light makes it easy to see leaf details without disturbing the plants or dazzling your eyes.
Best for: Planter box edges for evening or early morning harvests. - Watering Area: Solar Micro In-Ground Lights
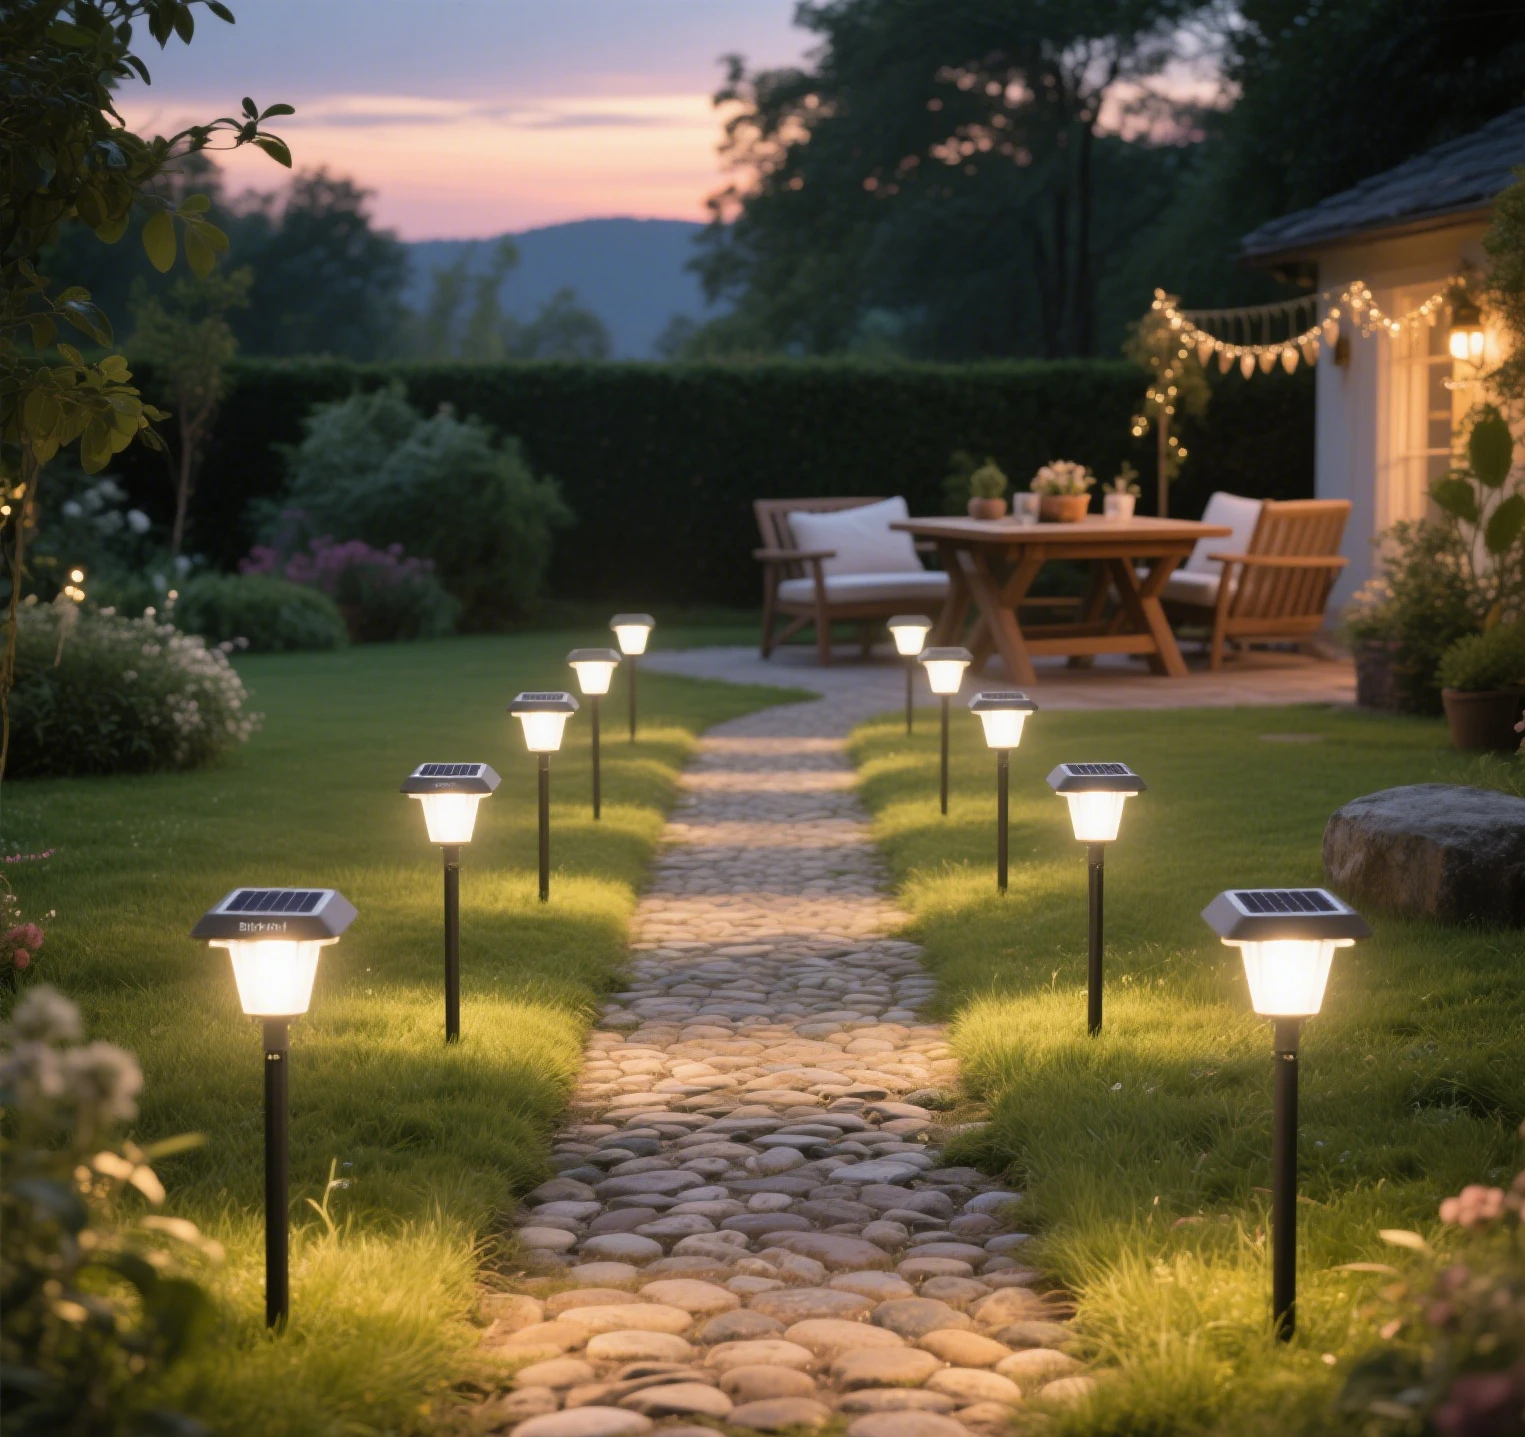
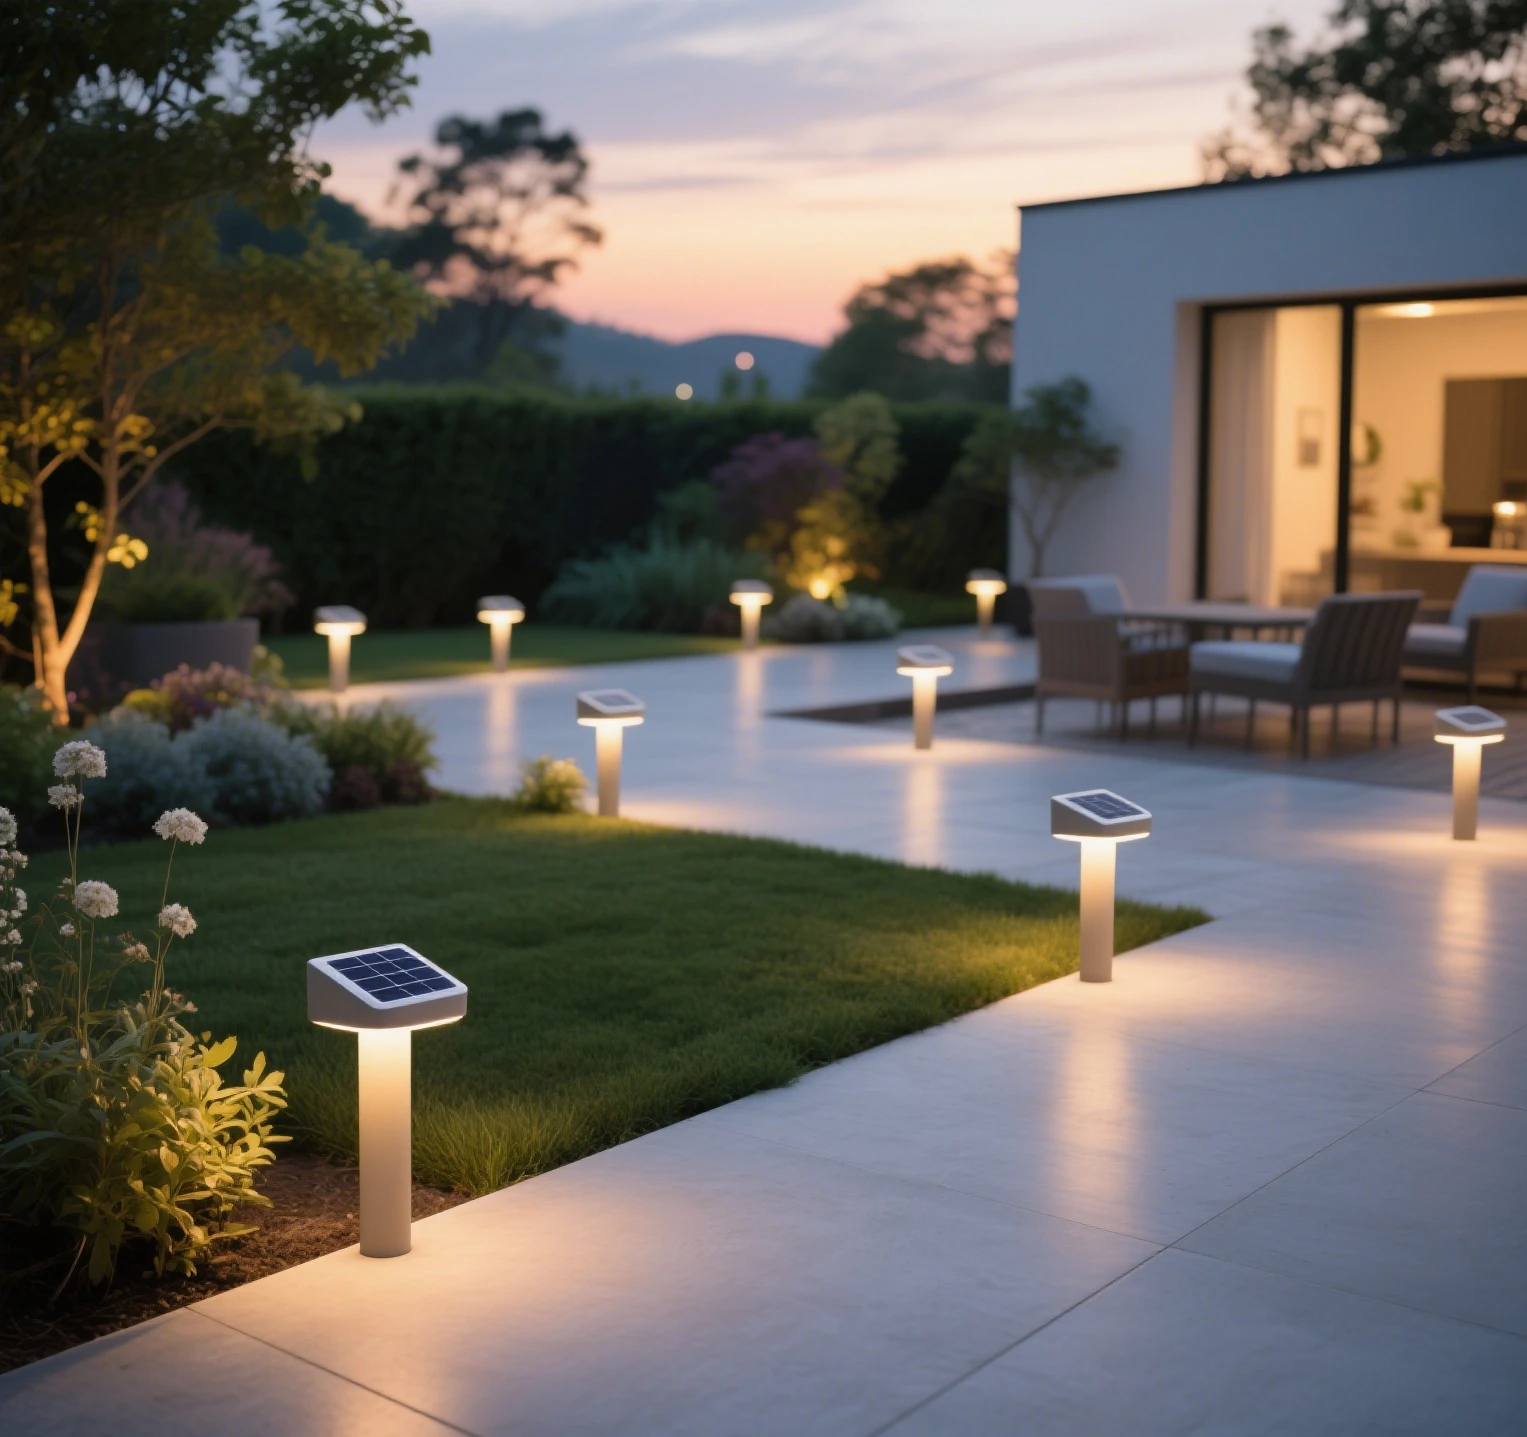
Watering my planters at dusk was a slippery hassle until I added 40-lumen solar micro in-ground lights around the watering area. These IP67 waterproof lights are embedded in the soil or gravel near the hose or watering can, providing just enough light to avoid tripping or stepping on plants. Their textured tops prevent slipping, even when wet.
Why it works: The low-profile, waterproof design keeps the area safe and visible without distracting from the garden’s look.
Best for: Paths or zones around planters where you water or walk.
These lights make growing and harvesting herbs and veggies easier and safer. Below is a table showing how light duration impacts plant yield, based on my experience with basil and cherry tomatoes.
Light Duration – Yield Impact Table
| Daily Light Duration | Basil Leaf Size | Cherry Tomato Yield | Notes |
|---|---|---|---|
| 4 hours (supplemental) | Small, sparse | 5-7 fruits/plant | Slow growth, weak flavor |
| 6 hours (supplemental) | Medium, lush | 10-12 fruits/plant | Ideal for cloudy days |
| 8 hours (supplemental) | Large, dense | 12-15 fruits/plant | Risk of leggy growth if overdone |
Safety Features for Edible Gardens
When growing food, safety is non-negotiable. Yard herb planter solar lights need to be safe for both plants and the people eating them. Here’s what I look for to ensure my herbs and veggies stay healthy and edible:
- Food-Grade Materials
The lights I use are made from food-safe plastics or metals, free of toxic coatings that could leach into the soil. This is critical for herbs like basil, which absorb contaminants easily. I check for certifications like BPA-free or FDA-compliant materials before buying. - Timed Shut-Off for Grow Lights
Full-spectrum grow lights can stress plants if left on too long. Mine have a built-in timer to shut off after 6 hours, preventing overexposure and saving battery life. This keeps my basil bushy and my tomatoes juicy without burning them out. - IP67 Waterproofing
Rain and watering can damage cheap lights, but my grow, harvesting, and in-ground lights are IP67-rated, meaning they’re fully sealed against dust and water. I’ve splashed them with the hose countless times, and they still work perfectly. - Low-Heat LEDs
The LEDs in these lights emit minimal heat, so they don’t scorch delicate leaves or dry out the soil. This is especially important for the grow lights, which are close to the plants for hours.
These features ensure yard herb planter solar lights support healthy, edible crops while standing up to outdoor conditions.
Seasonal Adjustments for Optimal Growth
North American climates vary, so I tweak my lighting setup for summer and winter to keep my herbs and veggies happy:
- Summer: My backyard gets intense sun, which can overwhelm young basil or tomato plants. I pair the grow lights with a lightweight shade cloth (30% shade) over the planter during peak afternoon hours. This cuts glare while letting the full-spectrum lights do their job in the morning or evening. I also space the stick-on harvesting lights closer together for longer summer evenings when we’re outside late.
- Winter: Shorter days and colder temps slow growth, so I lower the grow lights to 18 inches (45 cm) above the planter to maximize light intensity. For frost-prone nights, I cover the planters with breathable fabric and rely on the in-ground lights to navigate safely. The solar panels still charge, even on cloudy winter days, thanks to their high-efficiency design.
These tweaks keep my plants productive year-round, whether I’m harvesting basil for a summer salad or winter soup.
Installation Tips for Your Garden
Setting up yard herb planter solar lights is simple, but a few tricks make them work even better:
- Grow Lights: Hang lights 24 inches above the soil using a sturdy frame or hooks. Angle the solar panel south for maximum sun exposure. Test the timer to ensure it runs 6 hours daily.
- Harvesting Lights: Stick mini lights to the outer edges of planter boxes, about 6 inches apart, at leaf height. Ensure the switch is easy to reach but won’t snag on tools.
- Watering Area: Bury micro in-ground lights 2-3 inches deep around the watering zone, spacing them 3-4 feet apart. Check that they’re flush to avoid tripping.
Before planting season, test each light by charging them in full sun for a day. For harvesting lights, flick them on at dusk to confirm the warm white glow covers the leaves evenly.
Maintenance for Long-Lasting Lights
These lights are low-maintenance, but a little care goes a long way. Wipe solar panels monthly with a damp cloth to clear dirt or pollen. Check the stick-on lights’ adhesive after heavy rain and reapply if needed (most come with extra adhesive strips). For grow lights, clean the lenses gently to maintain light clarity. If a light dims, swap the battery—most use standard AA rechargeables. I store spares in a kitchen drawer for quick replacements. In winter, bring the stick-on lights indoors if you’re not planting to extend their life.
Cost and Value
You might wonder if yard herb planter solar lights are worth it. Expect to pay $30-50 for a full-spectrum grow light, $10-20 per stick-on harvesting light, and $15-25 per in-ground light. For my two 4×2-foot planter boxes, I used one grow light, six harvesting lights, and four in-ground lights, totaling about $150. This investment doubled my basil yield and made cherry tomatoes a weekly harvest, saving me trips to the store. Plus, the lights last 3-5 years with proper care, and solar power means no extra electricity costs.
Conclusion: Lights That Grow and Glow
After a season of using yard herb planter solar lights, my backyard garden is thriving, and nighttime harvesting is no longer a chore. The full-spectrum grow lights have turned my basil into lush, flavorful bushes and my cherry tomatoes into juicy handfuls. The stick-on harvesting lights let me pick the perfect leaves for a late-night pasta without a flashlight, and the in-ground lights keep my watering area slip-free. These lights are like a gardener’s best friend—boosting growth and lighting up harvests while keeping everything safe to eat. If you’ve ever struggled with slow-growing herbs or fumbled in the dark for the right leaf, yard herb planter solar lights are the solution to make your edible garden shine.
Leave a Reply