


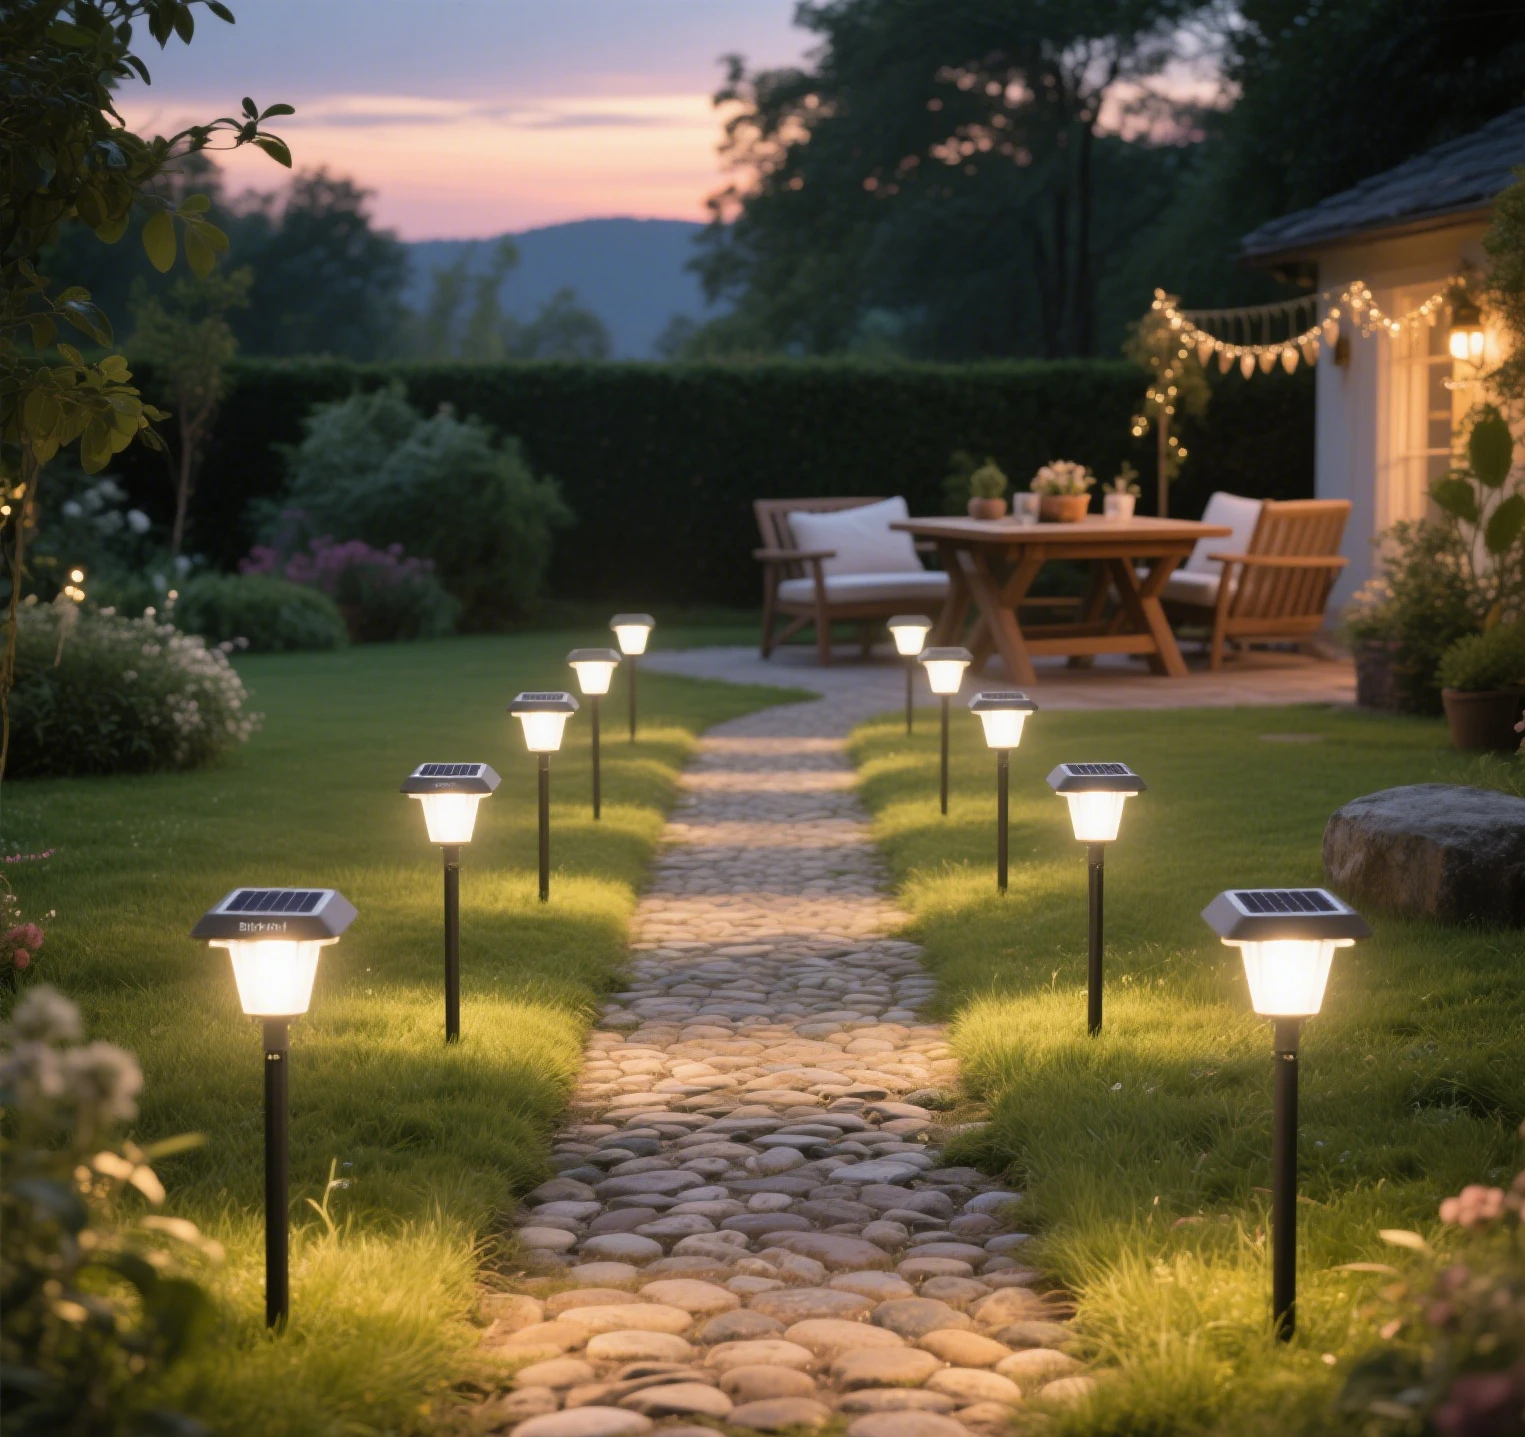
Embark on a Fun DIY Solar Light Journey
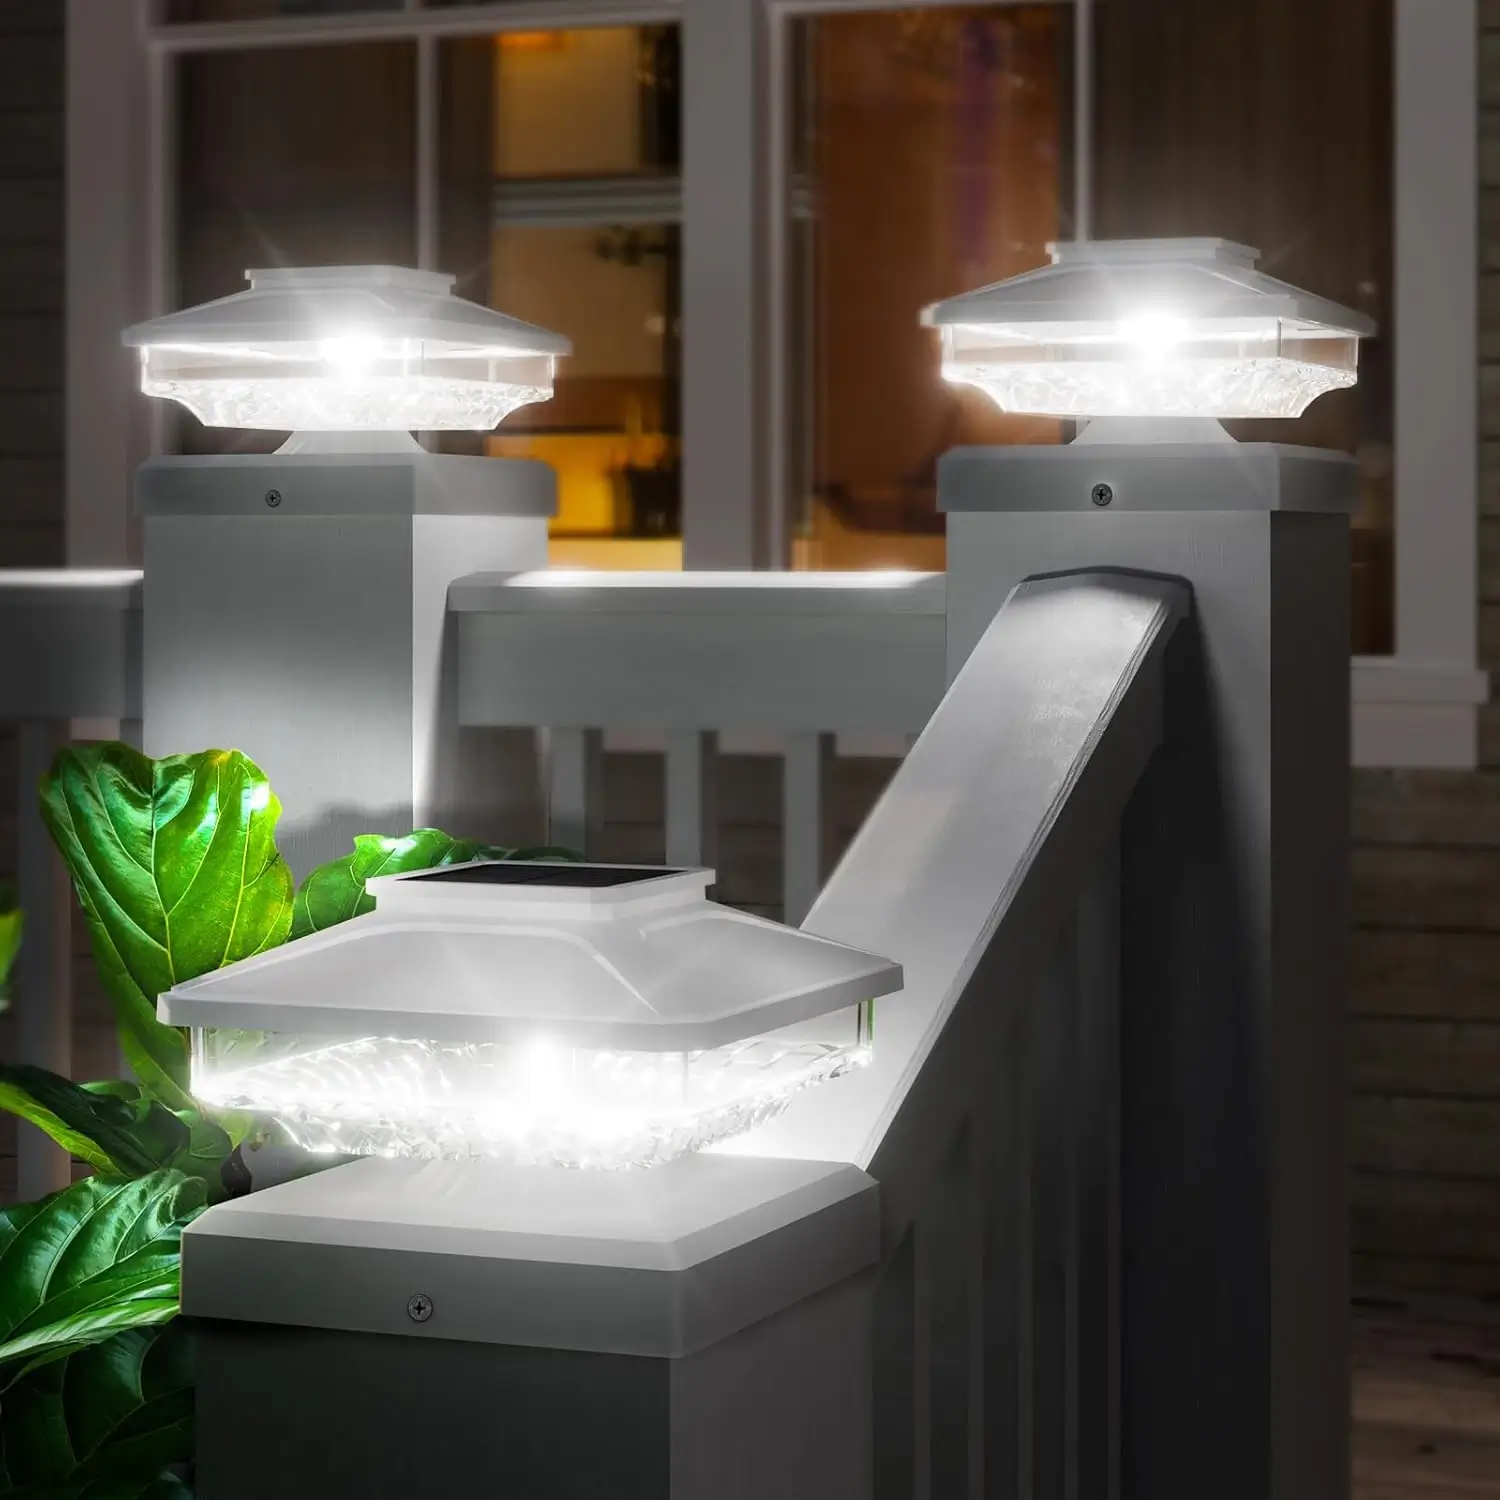
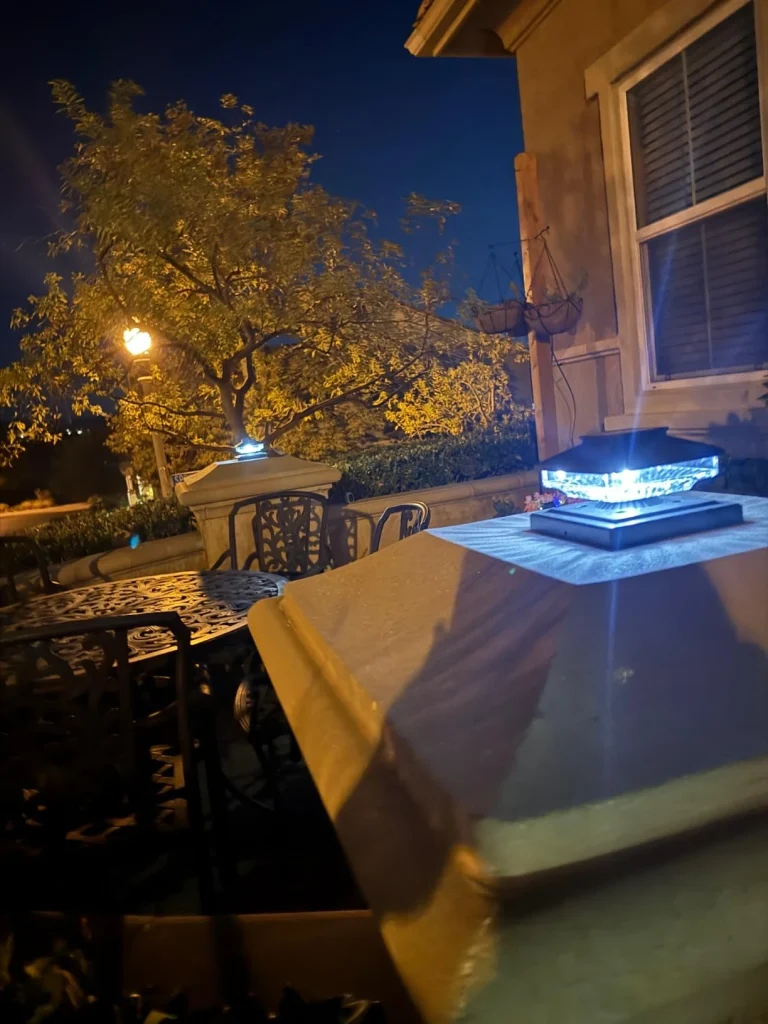
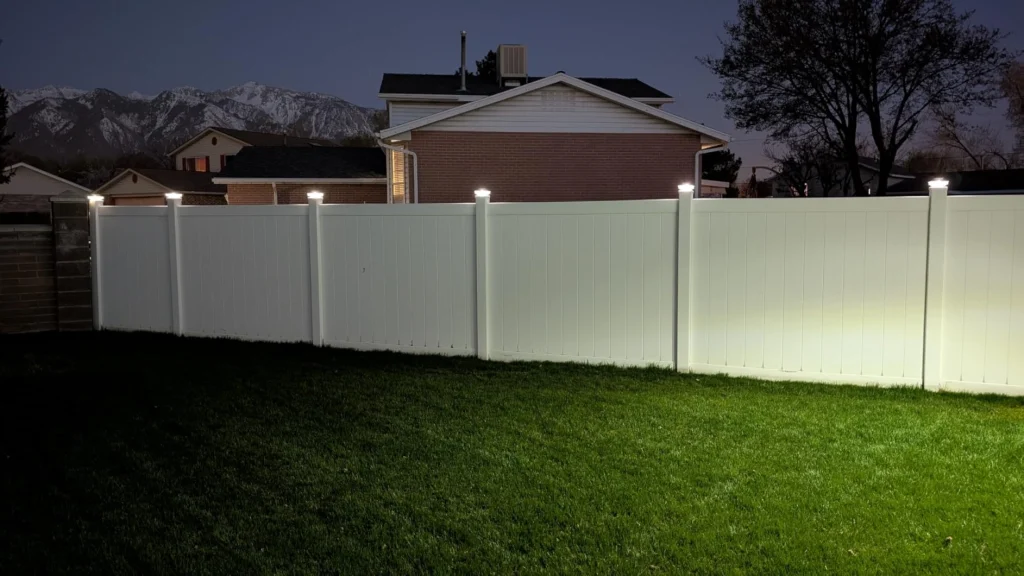
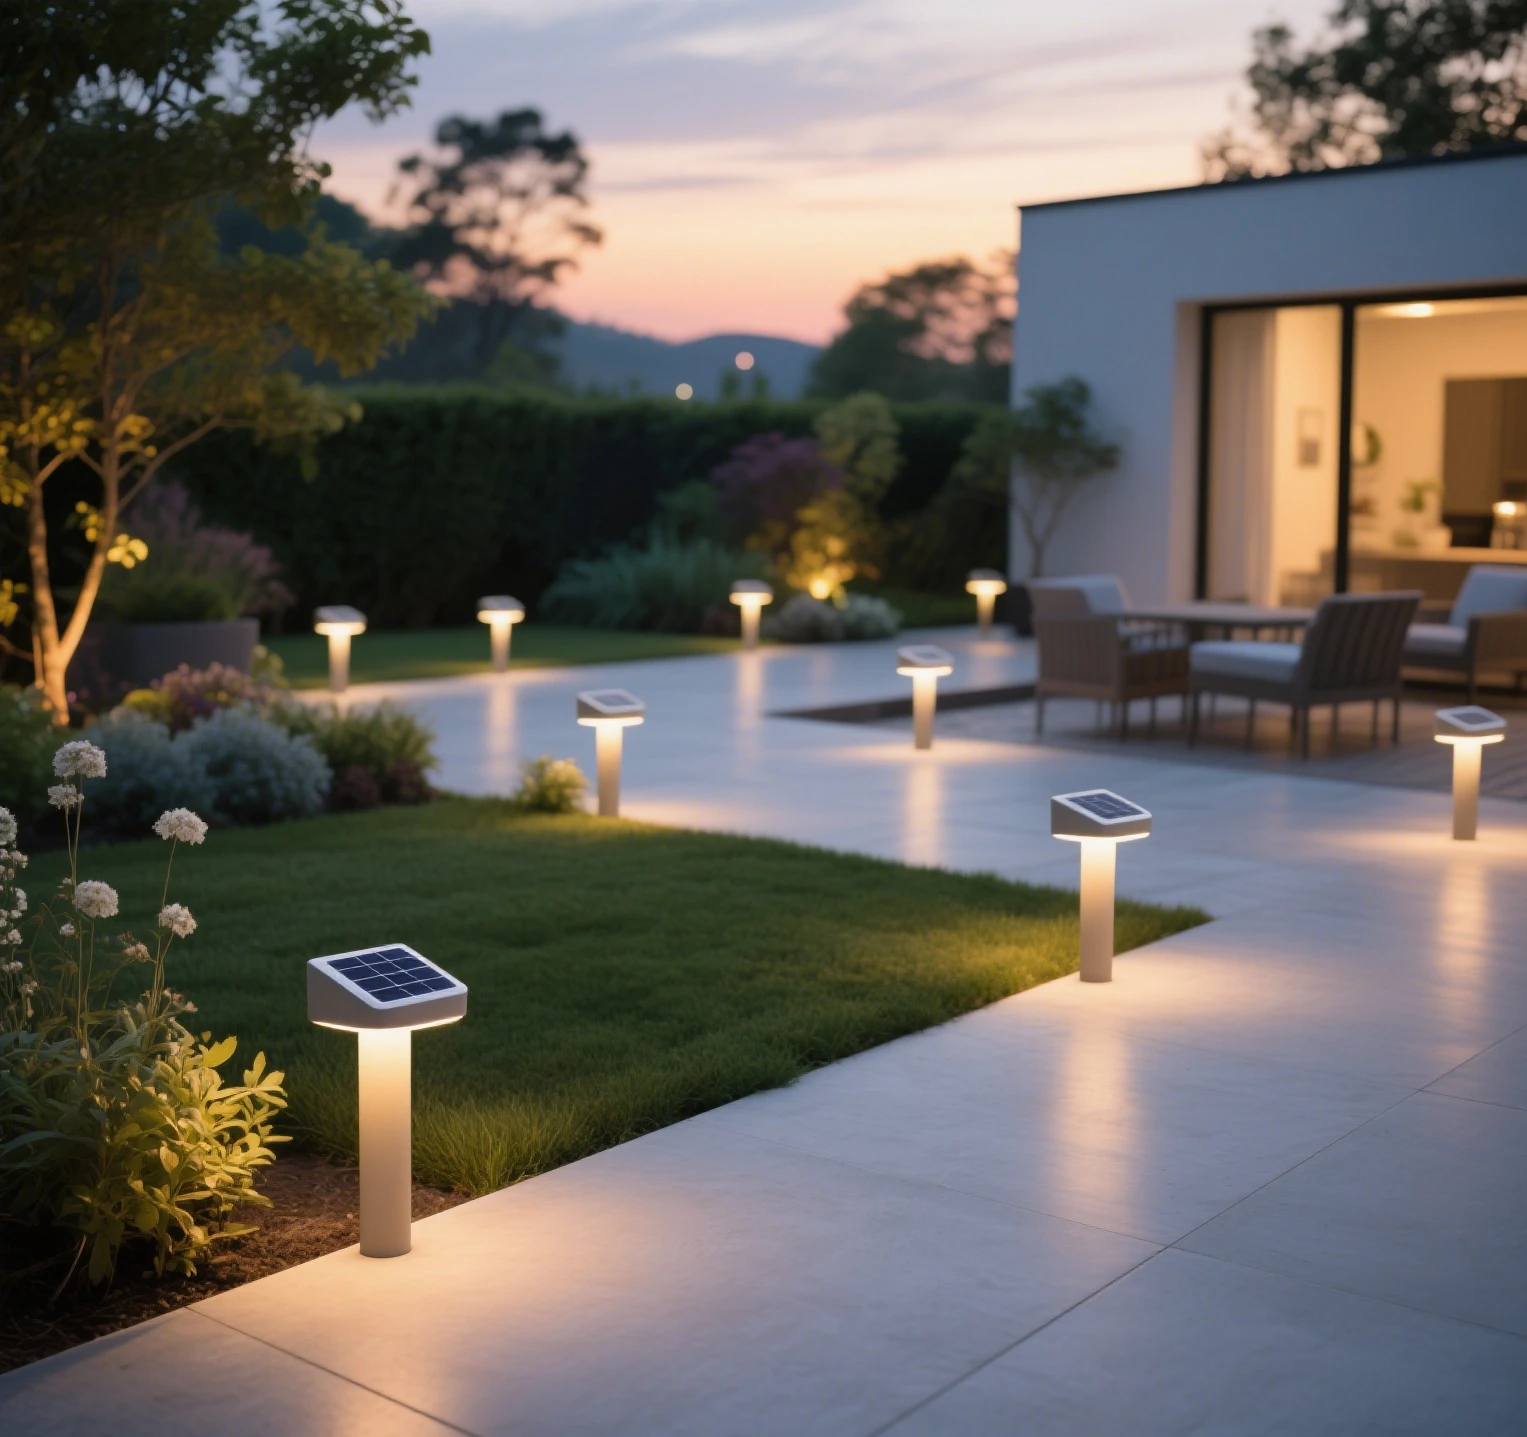
Picture this: as twilight settles, your backyard glows with solar lights for vinyl fence posts, crafted by your own hands. These solar powered deck post caps not only brighten your deck with solar post caps but also spark joy in the creation process. DIY solar lights are budget-friendly, customizable, and surprisingly simple, making them perfect for anyone eager to add a personal touch to their outdoor space.
Why go DIY? First, you can save 30-50% compared to store-bought 4×4 post solar lights. Second, the satisfaction of building something unique—like vinyl fence post caps 5×5 solar light—boosts confidence. Plus, you can tailor designs to match your home’s vibe. No expert skills? No problem! This guide ensures even beginners can dive in with ease.
Getting Started: Your DIY Toolkit
Materials Checklist
- Core Components:
- Solar panel (5-10W, ~$5-10 online).
- 18650 lithium battery (2000mAh, rechargeable).
- Low-power LED bulbs (warm or cool white, 1-3W).
- Solar charge controller (with light sensor and charge protection).
- Support Materials:
- 22AWG wires, heat-shrink tubing, electrical tape, double-sided tape.
- Optional: small toggle switch for manual control.
- Creative Add-Ons:
- Glass jars, wooden bases, hemp rope, or seashells for decorative casings.
- Where to Buy: Check Amazon or local hardware stores for affordable kits.
Tools You’ll Need
- Basics: Scissors, wire strippers, lighter (for heat-shrink tubing), tweezers (for soldering).
- No-Tool Alternatives: Wire connectors (no stripping needed), magnetic mounts (no screws).
- Pro Tip: A $10 wire connector kit can make your project tool-free!
Safety First
- Disconnect the battery before starting to avoid shorts.
- If soldering, work in a ventilated area to avoid fume inhalation.
- Kids joining? Ensure adult supervision for safety.
10-Minute Installation Challenge: Step-by-Step
Ready to build your solar lights in just 10 minutes? Let’s go!
Step 1: Connect Components (3 Minutes)
- No-Solder Option: Use wire connectors to link the solar panel’s positive terminal to the controller’s charge input (red to red, black to black). Connect the controller’s output to the LED bulb’s terminals.
- Soldering Option: Strip 1/4 inch of wire insulation, tin the ends, and solder to the corresponding component pins. Slide on heat-shrink tubing and heat with a lighter for a secure fit.
- Tip: Label wires to avoid confusion.
Step 2: Install the Battery (2 Minutes)
- Insert the 18650 battery into the controller’s slot, matching positive and negative poles. Secure the battery with double-sided tape inside your lamp housing for stability.
- Check: Ensure the controller has a battery compartment or clip for easy access.
Step 3: Assemble Your Lamp (3 Minutes)
- Jar Lamp: Place the LED and controller inside a glass jar. Wrap hemp rope around the rim for a rustic look. Attach the solar panel to the lid with adhesive.
- Ground Stake Lamp: Mount the LED and controller on a plastic or wooden stake. Angle the solar panel atop the stake for optimal sunlight, perfect for 4×4 post solar lights.
- Inspiration: A mason jar lamp looks stunning on vinyl fence posts!
Step 4: Test and Tweak (2 Minutes)
- Place your lamp in sunlight for 10-15 minutes to charge. At dusk, check if the LED auto-lights. If not, verify wire connections and battery polarity with a multimeter.
- Pro Tip: Test in a dark room by covering the solar panel to simulate night.
No-Tool Hacks for Effortless DIY
Quick-Connect Tricks
- Use alligator clips for temporary connections during testing—great for tweaking solar powered deck post caps.
- Magnetic solar panel mounts stick to metal surfaces, ideal for vinyl fence post caps 5×5 solar light without drilling.
Creative Mounting
- Hot glue components to a wooden base for a sturdy, no-screw setup.
- Use Velcro strips to bundle wires, keeping your deck with solar post caps tidy and easy to adjust.
Troubleshooting
- Lamp Won’t Light: Check battery polarity or loose wires. Measure battery voltage (should be ~3.7V).
- Charging Issues: Wipe the solar panel clean and adjust its angle to face direct sunlight.
Get Creative: Make Your Solar Light Unique
Aesthetic Upgrades
- Natural Vibe: Fill a glass jar with dried flowers or pebbles, paired with hemp rope for a cozy solar lights for vinyl fence posts look.
- Festive Flair: Decorate with colored paper for Halloween pumpkins or Christmas snowmen lamps.
Functional Boosts
- Add a timer module ($3 online) to set auto-on/off times.
- String multiple LEDs for a long deck with solar post caps light strand.
Family Fun
- Let kids paint the lamp housing for a personal touch.
- Host a family “Solar Light Design Contest” with awards for creativity and utility.
Maintenance for Long-Lasting Lights
Daily Care
- Wipe the solar panel weekly with a soft cloth to boost charging efficiency.
- Check wire connections monthly to prevent loosening.
Seasonal Tips
- Summer: Shade the battery to avoid overheating.
- Winter: Store 4×4 post solar lights indoors in cold climates to protect batteries from freezing.
Battery Replacement
- If runtime drops, replace the 18650 battery (match specs: 3.7V, 2000mAh). Always align positive/negative poles correctly.
Share Your DIY Glow
Building your own solar lights is a rewarding adventure, blending creativity, savings, and eco-friendly vibes. From crafting a glowing jar for your vinyl fence posts to illuminating your deck with solar post caps, you’ve unlocked endless possibilities. Share your creations on Reddit or Quora—post a photo of your solar powered deck post caps or swap tips with the DIY community. Stay tuned for more solar DIY tutorials, and keep lighting up your world, one project at a time!
Leave a Reply