


Solar outdoor wall lights are an eco-friendly, cost-effective way to illuminate your home’s exterior, pathways, or garden. By harnessing solar energy, these lights eliminate the need for electrical wiring, making them ideal for DIY enthusiasts. This comprehensive guide provides a step-by-step process for installing solar wall lights, along with essential tools for solar light installation and maintenance tips for solar lights to ensure long-lasting performance.
Why Install Solar Outdoor Wall Lights?
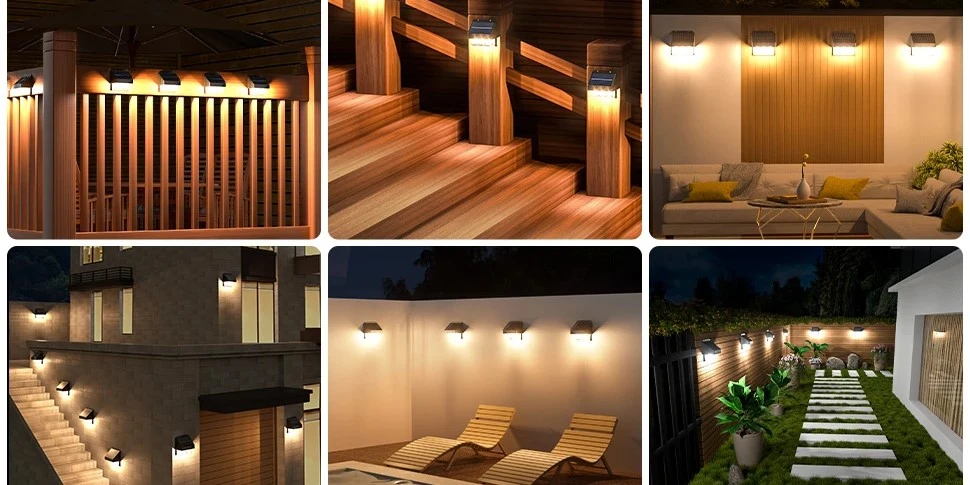
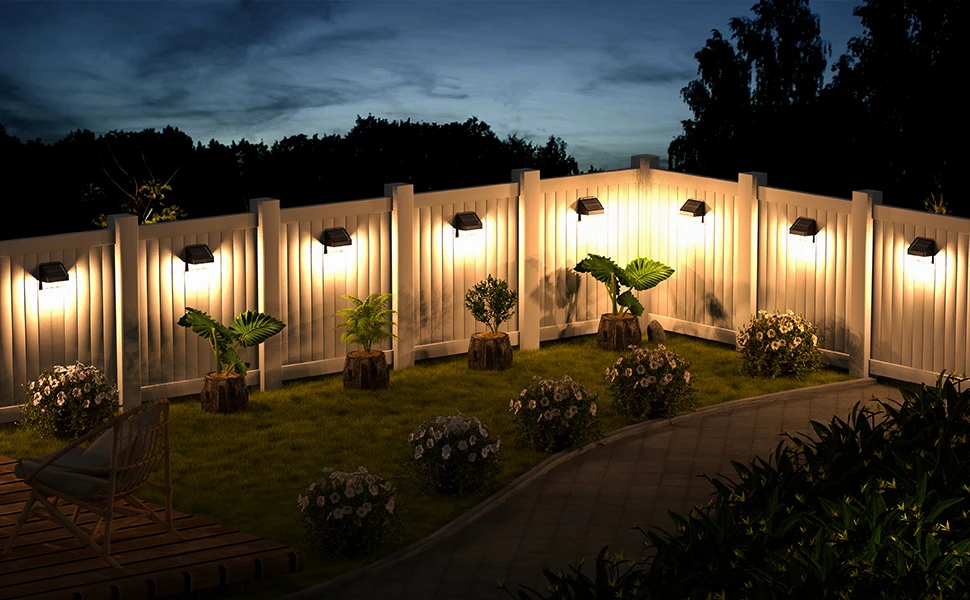
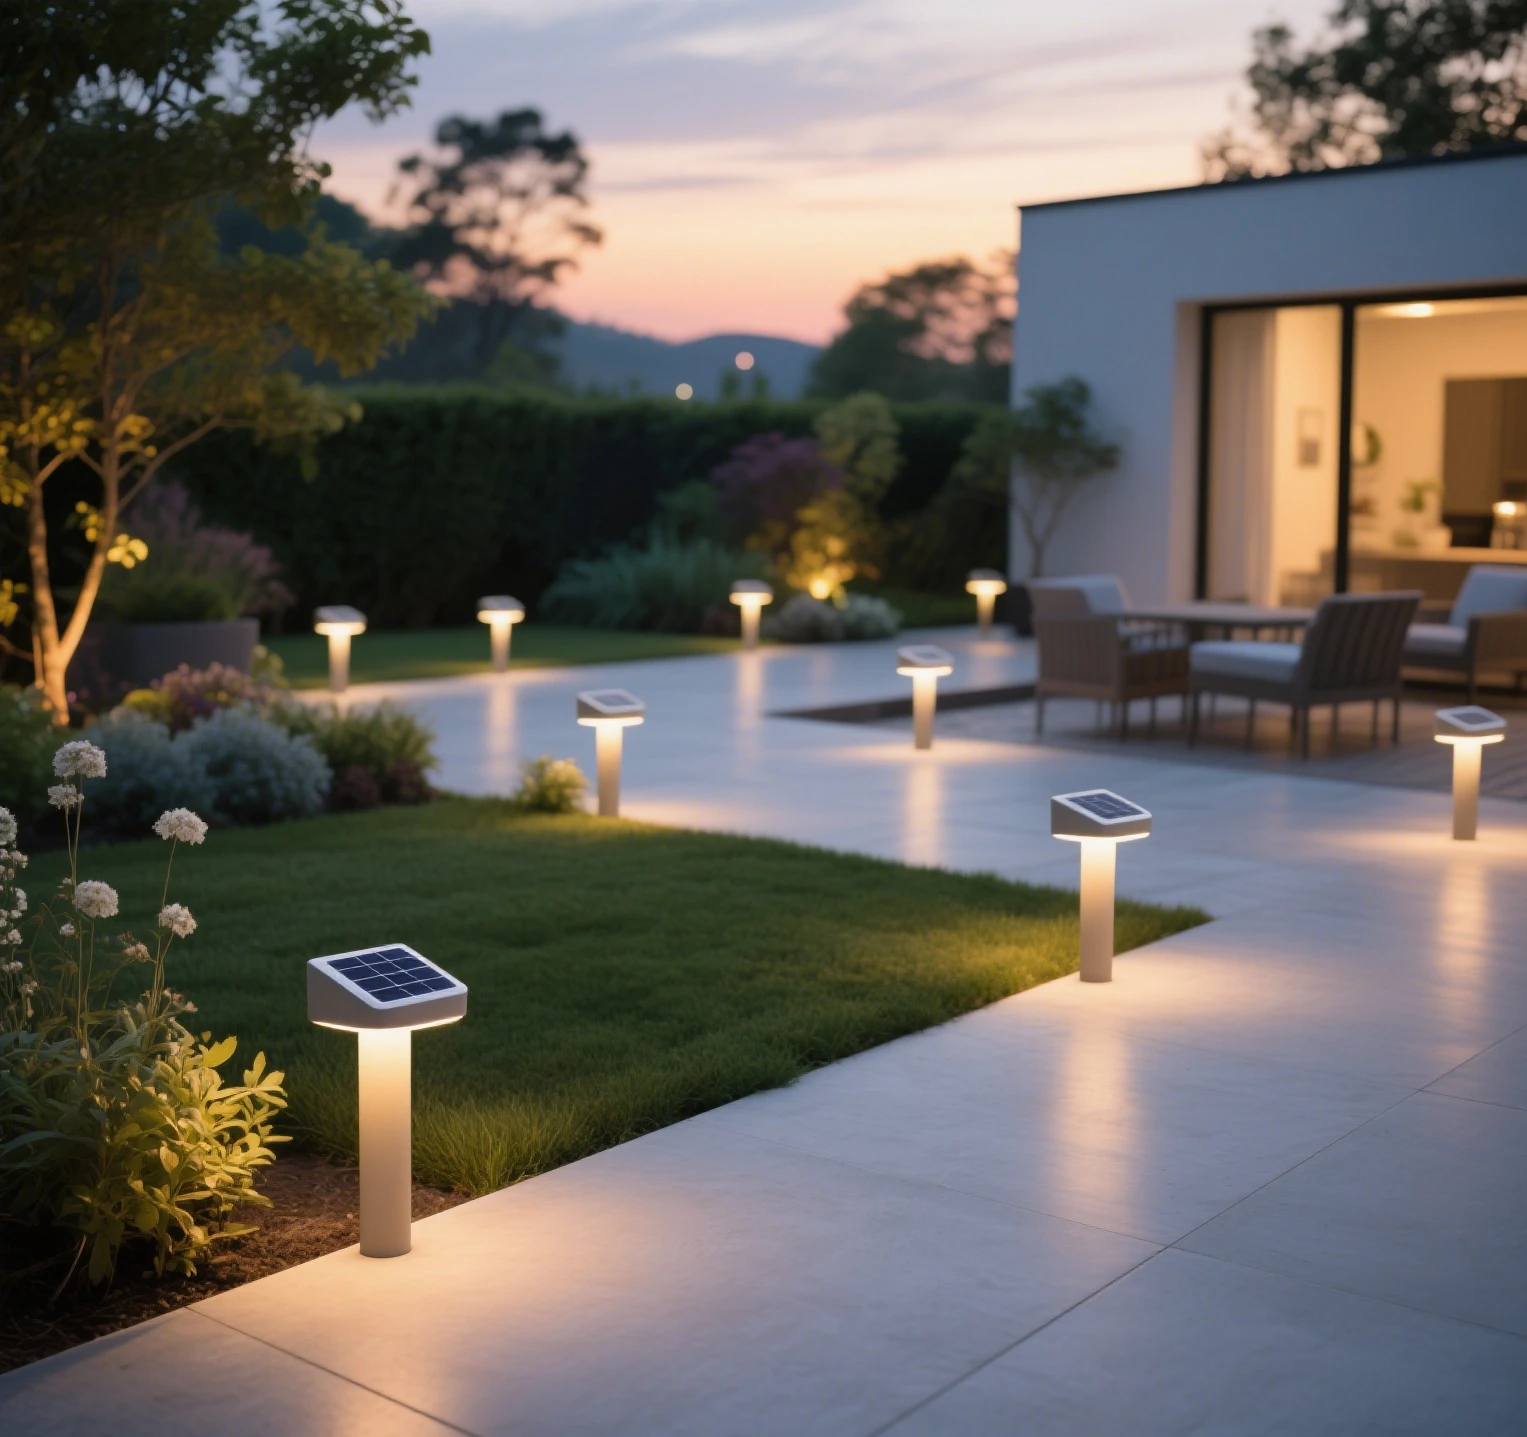
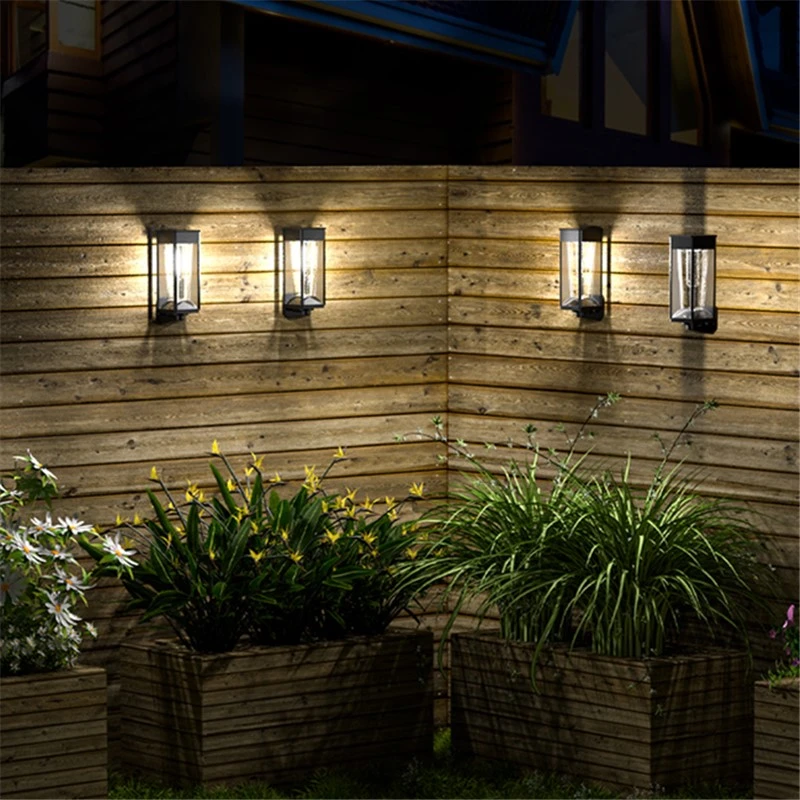
Solar-powered lighting offers numerous benefits, including energy efficiency, easy installation, and reduced electricity costs. With no wiring required, solar wall lights are perfect for enhancing outdoor security lighting or adding ambient outdoor lighting to patios, fences, or garden walls. Modern designs, equipped with LED technology and motion sensors, provide bright, reliable illumination while complementing your outdoor decor. This guide is designed to empower hands-on users to install these lights with confidence.
Tools and Materials Needed
Before starting, gather the following tools for solar light installation:
- Cordless drill with appropriate drill bits (for masonry or wood, depending on the surface)
- Screwdriver (Phillips or flathead, matching the provided screws)
- Measuring tape for precise placement
- Level to ensure straight alignment
- Pencil for marking mounting points
- Ladder (if installing at height)
- Cleaning cloth and mild detergent for solar panel maintenance
- Optional: Stud finder for wooden surfaces or masonry anchors for brick or concrete walls
Most solar outdoor wall lights, including models from brands like Bitpott, come with mounting hardware (screws, wall plugs, and brackets) included. Check the product manual to confirm specific requirements.
Step-by-Step Guide to Installing Solar Outdoor Wall Lights
Step 1: Choose the Right Location
Selecting the optimal location is critical for solar light performance. Solar panels need direct sunlight for at least 6–8 hours daily to ensure efficient solar charging. Choose a spot free from shadows caused by trees, overhangs, or buildings. South-facing walls are ideal in the Northern Hemisphere for maximum sunlight exposure.
Pro Tip: If installing motion-activated solar lights, position them where the motion sensor can detect movement effectively, such as near entryways or driveways. A user on a home improvement forum emphasized placing lights at least 6–8 feet high to avoid tampering and ensure wide-angle illumination.
Step 2: Test the Light Before Installation
Before mounting, test the light to confirm it works. Cover the solar panel to simulate darkness, which should trigger the light to turn on (for dusk-to-dawn or motion sensor models). A reviewer on The Home Depot’s website recommended this step to avoid installing a faulty unit. If the light doesn’t activate, charge the solar battery by placing the panel in direct sunlight for 8–12 hours.
Bitpott’s solar wall lights, for example, feature a test mode that allows you to verify LED brightness and sensor functionality before installation.
Step 3: Mark the Mounting Points
Using a measuring tape and pencil, mark the spots where the mounting bracket will be attached. Most solar wall lights come with a template or marked holes on the bracket for accuracy. Use a level to ensure the marks are aligned, as uneven installation can affect both aesthetics and light direction.
For brick or concrete surfaces, ensure you have masonry anchors to secure the screws. A DIY enthusiast on Reddit advised double-checking measurements to avoid drilling unnecessary holes, especially on delicate surfaces like stucco.
Step 4: Drill Holes and Install Anchors
Using a cordless drill, create holes at the marked points. For wooden surfaces, drill directly into the wood or a stud (use a stud finder for precision). For masonry, insert masonry anchors into the drilled holes to provide a secure base for screws. A YouTube tutorial on solar light installation emphasized using the correct drill bit size (usually 5–6 mm for standard anchors) to ensure a snug fit.
Safety Tip: Wear safety glasses to protect against dust or debris, especially when drilling into concrete or brick.
Step 5: Mount the Light Fixture
Attach the mounting bracket to the wall using the provided screws and a screwdriver. If the solar panel is separate from the light (common in some solar flood lights), mount the panel in a sunny location and connect it to the light fixture using the provided cable. Ensure the cable is long enough to reach the desired location—some users on Amazon noted that measuring cable length beforehand prevents installation issues.
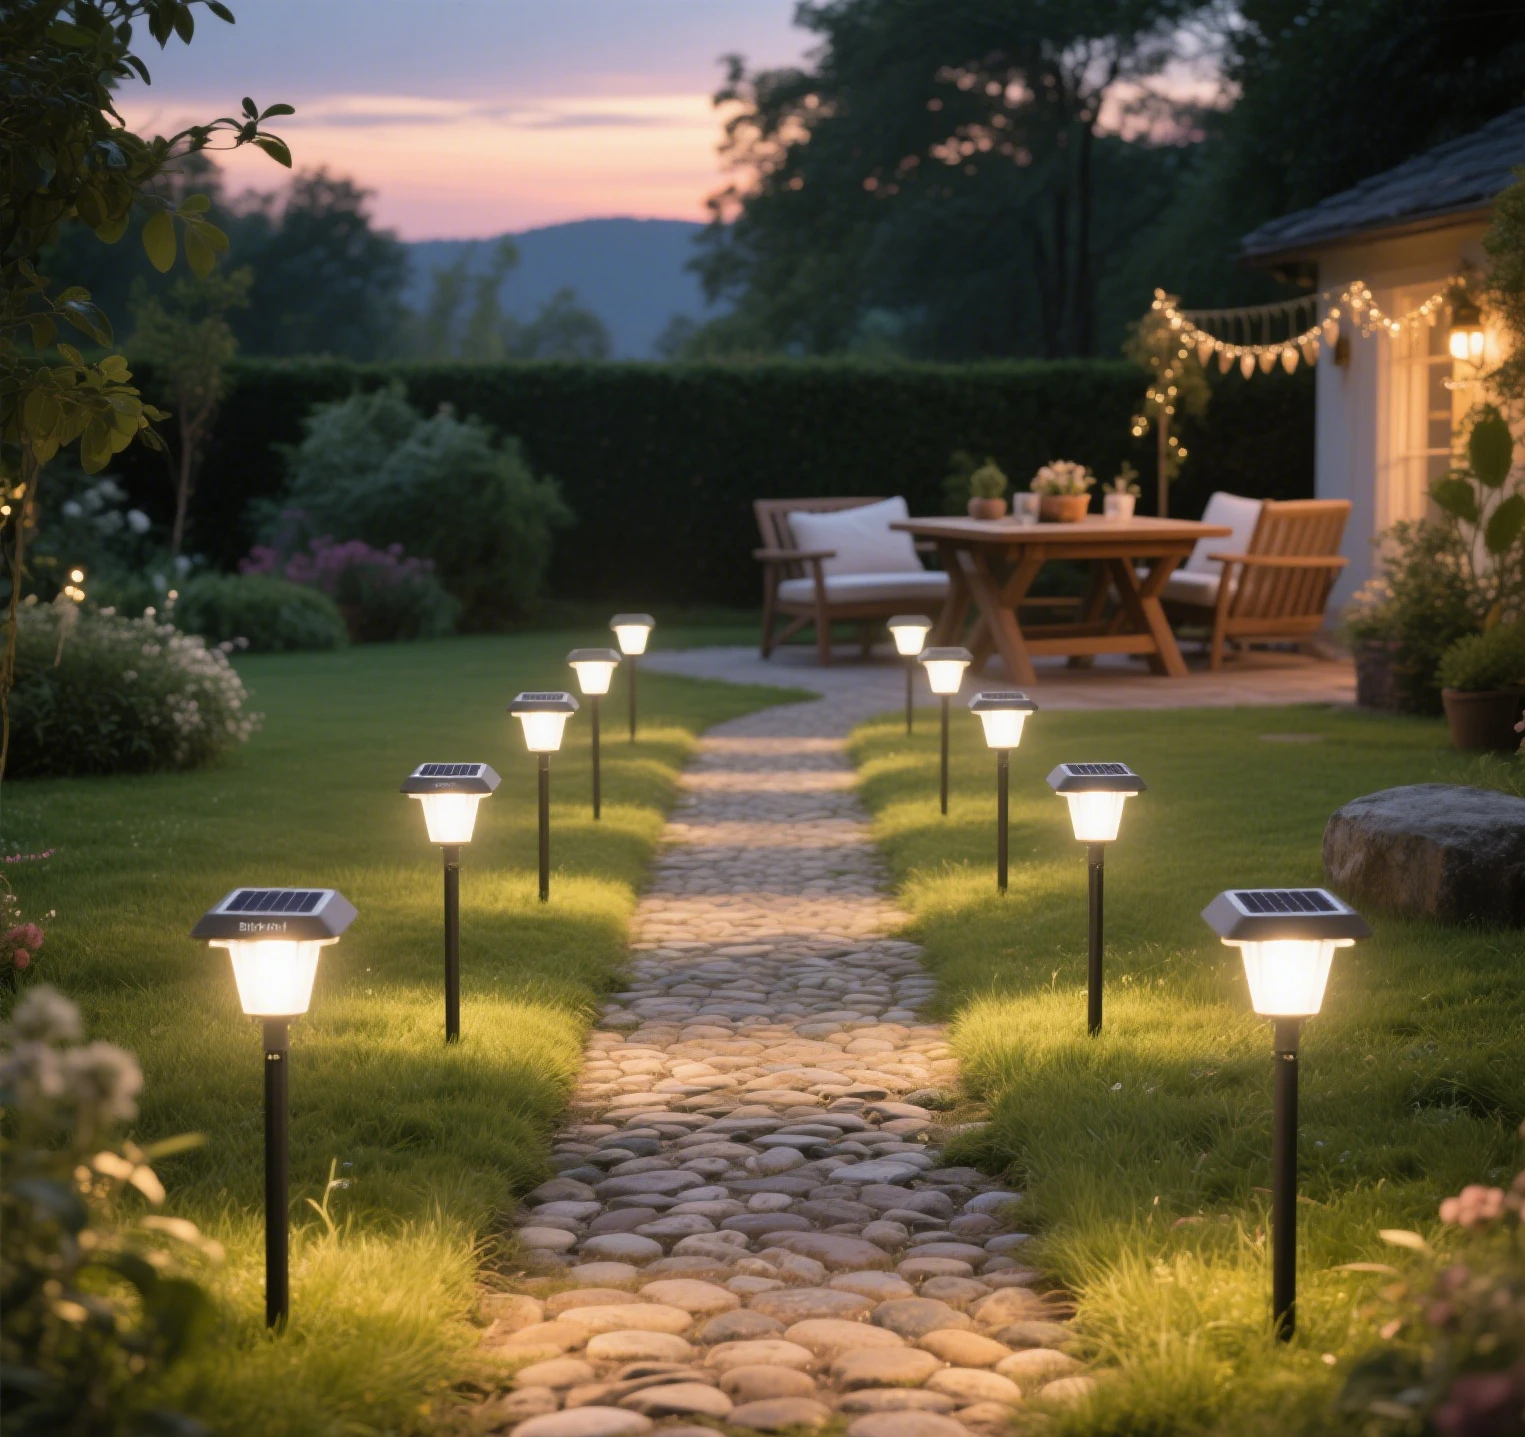
Secure the light fixture to the bracket, following the manufacturer’s instructions. For adjustable models, like Bitpott’s solar wall light, align the light direction to cover the desired area, such as a pathway or entrance.
Step 6: Adjust Settings and Test Again
Most solar outdoor wall lights offer settings like motion detection, dusk-to-dawn, or constant light modes. Adjust these settings using the control buttons or remote (if included). For motion-activated solar lights, calibrate the sensor’s sensitivity to avoid false triggers from pets or passing cars. A user on a gardening forum suggested testing the light at dusk to confirm the motion sensor range (typically 10–26 feet) and lumen output (50–800 lumens, depending on the model).
Step 7: Secure and Finalize
Double-check that all screws are tight and the light is firmly mounted. If the solar panel is detachable, secure any loose cables with clips or ties to prevent tripping hazards or weather damage. Clean the solar panel with a cleaning cloth and mild detergent to remove any installation debris, ensuring optimal solar energy capture.
Maintenance Tips for Solar Outdoor Wall Lights
To keep your solar wall lights performing at their best, follow these maintenance tips for solar lights:
- Clean the Solar Panel: Dust, dirt, or snow can reduce solar panel efficiency. Clean the panel monthly with a soft cloth and water or mild detergent. A user on a sustainability blog noted that regular cleaning boosted their light’s battery performance by 20%.
- Check Battery Health: Lithium-ion batteries typically last 2–3 years. If the light dims or fails to stay on, replace the battery (check the manual for compatible types). Most models have accessible battery compartments.
- Inspect Weather Seals: Ensure the light’s IP65 rating or higher (indicating waterproof performance) remains intact by checking for cracks or loose seals, especially after heavy storms.
- Adjust Seasonal Positioning: In winter, tilt the solar panel to capture lower-angle sunlight. A reviewer on Amazon recommended repositioning panels seasonally for consistent charging.
Common Installation Challenges and Solutions
Insufficient Sunlight
If your chosen location lacks maximum sunlight exposure, consider a model with a detachable solar panel to place in a sunnier spot. A landscaper on a DIY forum suggested using extension cables (available with some brands) to bridge the gap between panel and light.
Mounting on Tricky Surfaces
For surfaces like vinyl siding or glass, use adhesive mounts instead of drilling. A user review on Lowe’s website praised adhesive-backed solar wall lights for easy, damage-free installation on non-drillable surfaces.
Sensor Malfunctions
If the motion sensor or dusk-to-dawn feature doesn’t work as expected, reset the light by turning it off and on or recharging the solar battery. A commenter on a tech blog resolved a sensor issue by covering the panel for 30 seconds to recalibrate it.
Benefits of Solar Outdoor Wall Lights
Solar-powered lighting is not only energy-efficient but also environmentally friendly, reducing your carbon footprint. Installation is straightforward, with no need for professional electricians, saving time and money. High-quality models, like those from Bitpott, offer durable construction with IP65-rated casings, ensuring weather resistance against rain, snow, and heat. Their LED bulbs provide long-lasting illumination, often exceeding 20,000 hours.
Conclusion
Installing solar outdoor wall lights is a rewarding DIY project that enhances your outdoor space with sustainable lighting. By following this step-by-step guide, using the right tools for solar light installation, and applying maintenance tips for solar lights, you can achieve professional results. Whether you’re illuminating a pathway, boosting home security, or adding ambient glow, solar wall lights offer versatility and ease. Choose reliable models, like Bitpott’s, for optimal performance, and enjoy a brightly lit, eco-friendly exterior for years to come.
Leave a Reply