


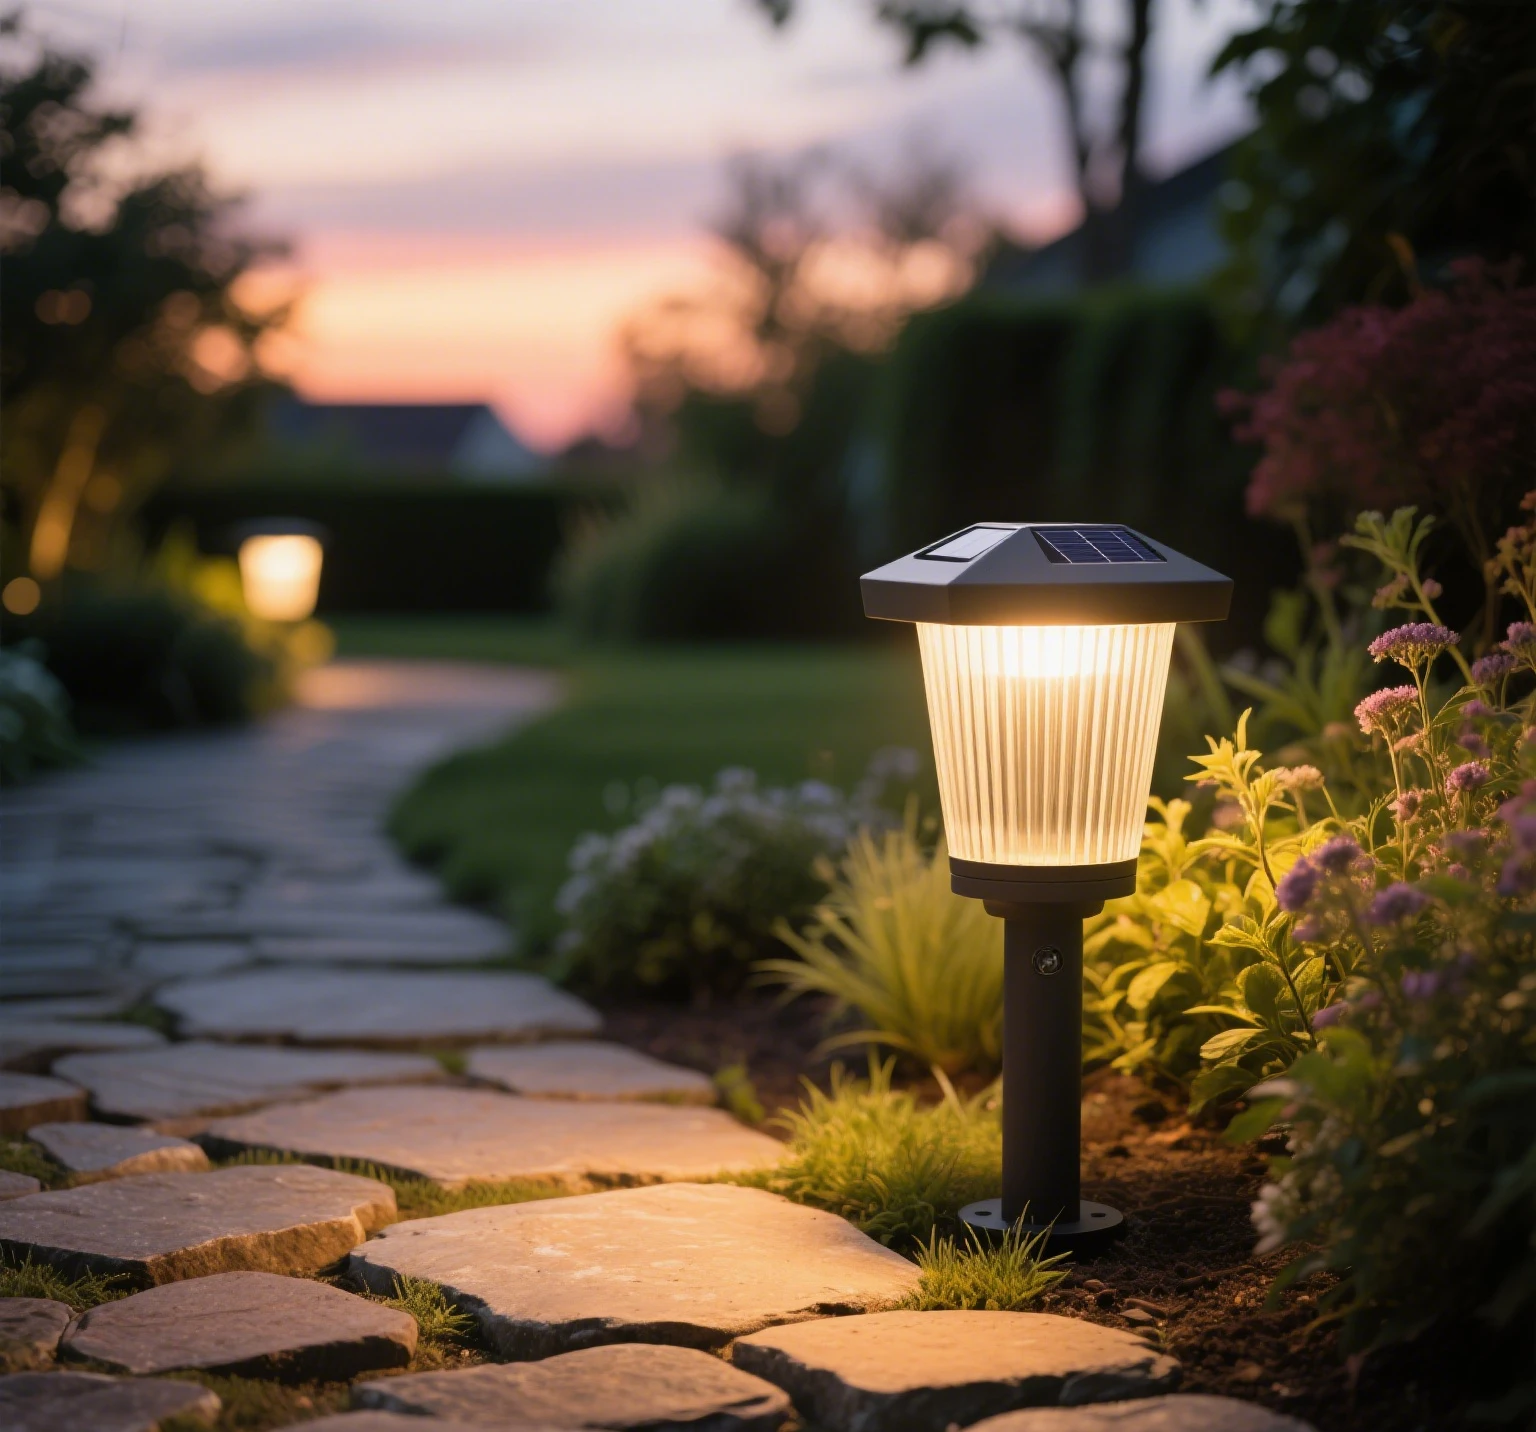
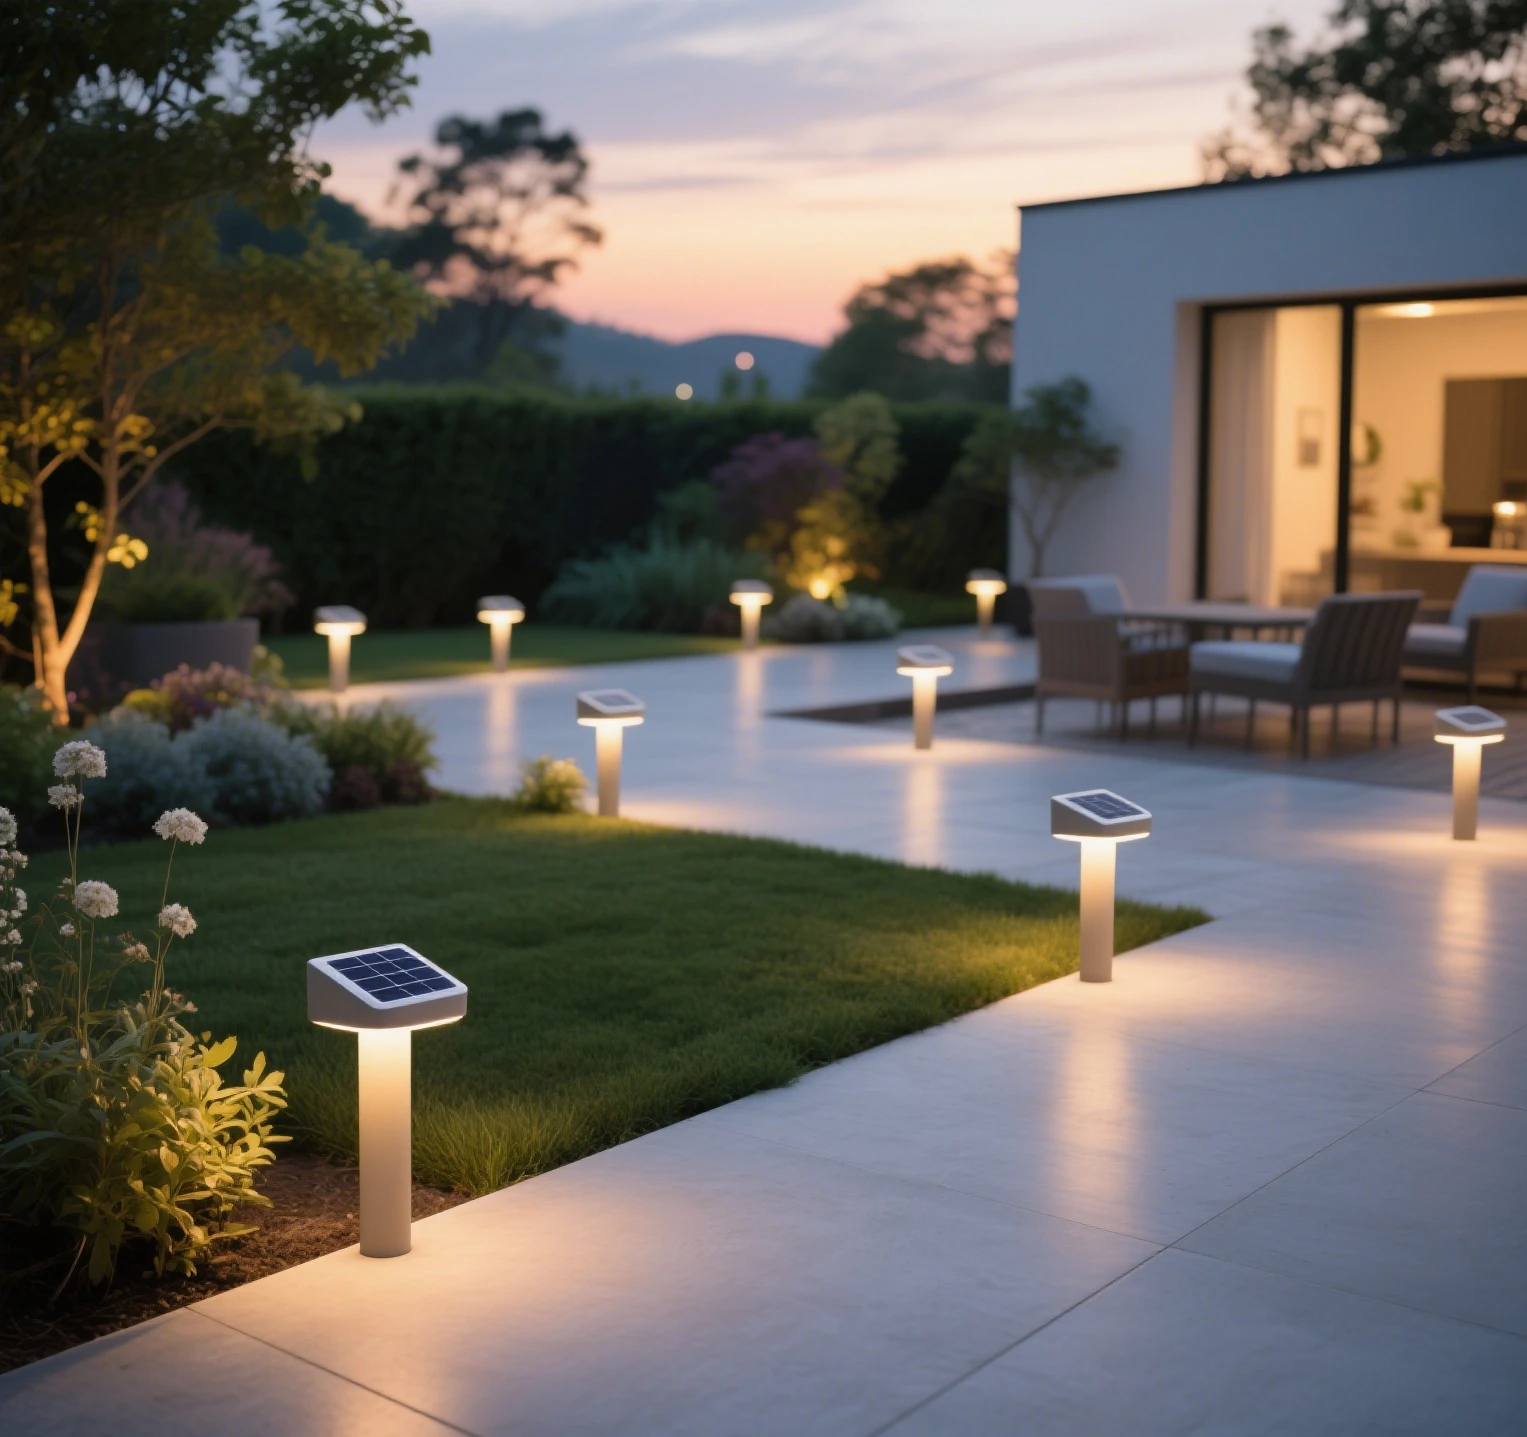
Solar-powered backyard lamps are no longer just functional lighting solutions; they’re becoming statement pieces that enhance outdoor aesthetics. With a few creative tweaks, you can elevate a standard solar lamp into a visually captivating feature that rivals trendy, high-end designs. This guide explores three low-cost, high-impact techniques—pole wrapping, decorative lampshades, and artistic base enhancements—to transform your solar lighting into Instagram-worthy masterpieces. We’ll also delve into practical tips, material choices, and maintenance strategies to ensure your revamped lamps remain both beautiful and functional.
Why Upgrade Your Solar Lamps?
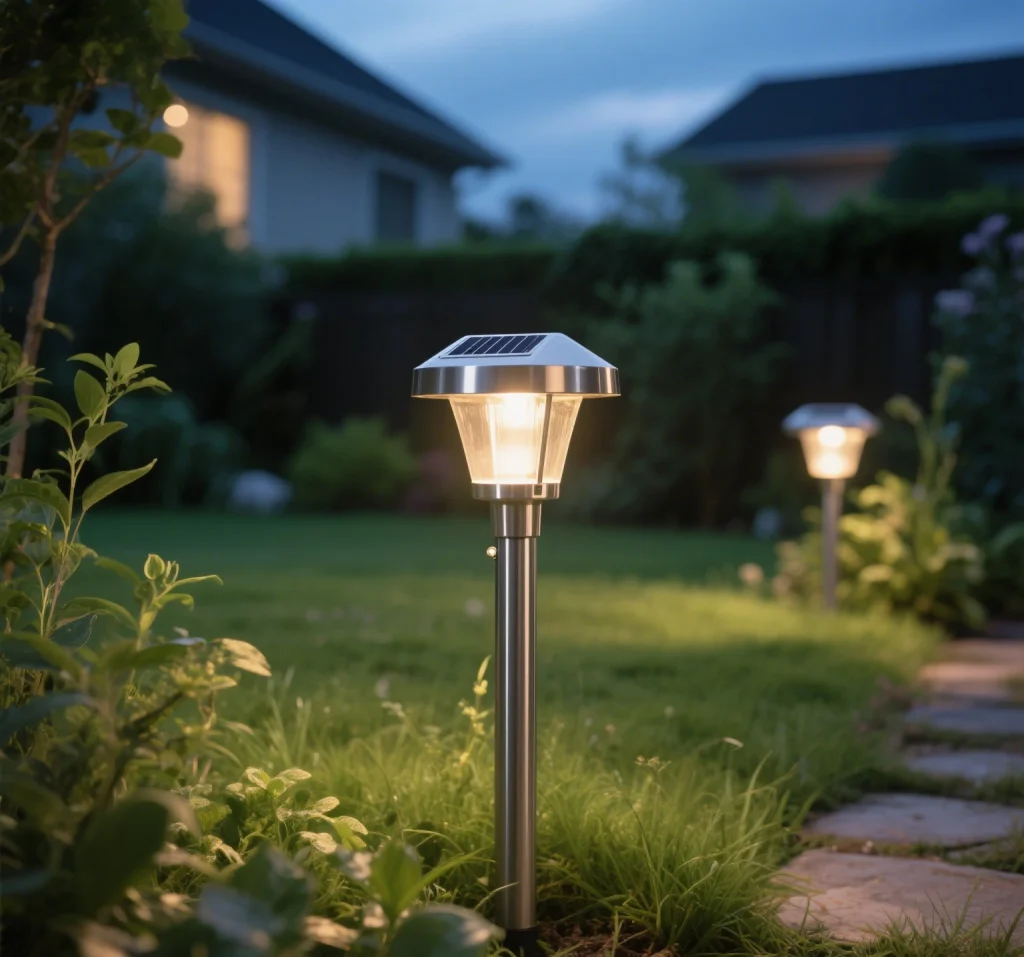
Before diving into the transformation techniques, let’s consider why upgrading your solar backyard lamps matters. These lamps are eco-friendly, harnessing solar energy to illuminate your outdoor spaces without increasing your electricity bill. However, their standard designs often lack personality. By incorporating creative elements, you can:
- Enhance Visual Appeal: Turn functional lights into focal points that complement your garden or patio.
- Increase Property Value: A well-designed outdoor space adds curb appeal.
- Express Creativity: Personalized lamps reflect your unique style.
- Stay Budget-Friendly: These upgrades use affordable materials and simple techniques.
With a keyword density of under 2%, terms like solar lamp, solar lighting, and solar energy are seamlessly integrated to maintain a natural flow while optimizing for search visibility.
Technique 1: Pole Wrapping for Rustic Charm
The Concept
Wrapping the pole of your solar lamp with textured materials like rope, twine, or faux vines adds a rustic or bohemian flair. This simple technique transforms a plain metal or plastic pole into a visually appealing element that blends with natural surroundings.
Materials Needed
- Natural Jute Rope or Twine: Durable and weather-resistant, available at craft stores for $5–$10 per roll.
- Faux Vines or Ivy: Ideal for a greenery-inspired look, costing around $8–$15 online.
- Hot Glue Gun or Waterproof Adhesive: Ensures secure attachment.
- Scissors: For precise cutting.
Step-by-Step Guide
- Clean the Pole: Wipe down the lamp pole to remove dirt or grease for better adhesion.
- Measure and Cut: Cut the rope or vine to the pole’s length, adding 10% for overlap.
- Secure the Base: Apply a small amount of adhesive at the pole’s base and begin wrapping tightly.
- Wrap Evenly: Spiral the material upward, ensuring no gaps. Secure the top with adhesive.
- Seal the Ends: Use clear sealant to protect against moisture and UV damage.
Pro Tips
- Mix Textures: Combine rope with thin strips of burlap for a layered look.
- Color Variations: Choose dyed ropes in earthy tones like sage green or terracotta to match your outdoor palette.
- Maintenance: Inspect wraps monthly for wear and reapply sealant as needed to maintain durability.
This technique costs under $20 and takes less than an hour, making it an accessible way to elevate your solar lighting.
Technique 2: Decorative Lampshades with Light Patterns
The Concept
The lampshade of a solar lamp offers a canvas for creativity. Adding decorative stickers or stencils to create light patterns transforms your lamp into a glowing art piece. When the solar energy-powered light shines through, it casts intricate shadows, adding ambiance to your backyard.
Materials Needed
- Lampshade Stickers or Stencils: Opt for weather-resistant vinyl stickers or reusable stencils, priced at $5–$12.
- Spray Paint (Optional): For custom color effects, use UV-resistant paint ($6–$10).
- Clear Acrylic Sealer: Protects designs from rain and sun exposure.
- Cleaning Supplies: Isopropyl alcohol and a microfiber cloth for surface prep.
Step-by-Step Guide
- Remove the Lampshade: Detach the shade if possible, or work in place for fixed designs.
- Clean the Surface: Use alcohol to ensure a smooth, adhesive-friendly surface.
- Apply Stickers or Stencils: Position your design carefully. Popular patterns include floral, geometric, or lace-like motifs.
- Optional Painting: Spray paint over stencils for a permanent effect, then remove the stencil.
- Seal the Design: Apply a thin layer of acrylic sealer to protect against weathering.
Pro Tips
- Test Light Patterns: Before finalizing, test the lamp at night to ensure the shadow effect is as desired.
- Layered Designs: Combine stickers of varying opacity for depth in light projection.
- Maintenance: Clean the lampshade quarterly to prevent dirt buildup, which can dim the solar lamp’s glow.
This upgrade, costing $15–$25, creates a mesmerizing effect that makes your solar lighting a conversation starter.
Technique 3: Artistic Base Enhancements
The Concept
The base of a solar lamp is often overlooked, but it’s a prime spot for creative enhancement. Adding natural elements like pebbles, succulents, or mosaic tiles turns the base into a decorative anchor that ties the lamp to your outdoor theme.
Materials Needed
- Pebbles or River Rocks: Available at garden centers for $5–$10 per bag.
- Succulent or Multi-Plant Pots: Small pots cost $3–$8 each.
- Mosaic Tiles or Glass Gems: Priced at $10–$15 for a small kit.
- Waterproof Adhesive or Epoxy: For securing heavy elements.
- Small Planter Tray: To contain loose materials, if needed.
Step-by-Step Guide
- Prepare the Base: Clean the lamp base to remove debris.
- Arrange Elements: For pebbles, create a layered, natural look. For succulents, place a small pot at the base. For mosaics, plan a pattern.
- Secure Materials: Use adhesive to fix pebbles or tiles. Ensure succulents are in well-draining soil.
- Add Finishing Touches: Surround with mulch or sand for a polished look.
- Test Stability: Ensure the base remains stable and level.
Pro Tips
- Thematic Consistency: Match materials to your garden’s style—modern, rustic, or tropical.
- Low-Maintenance Plants: Choose hardy succulents like echeveria or sedum to minimize upkeep.
- Weather Protection: Apply a UV-resistant sealant to tiles or pebbles to prevent fading.
This upgrade, ranging from $15–$30, grounds your solar lamp in a visually cohesive design, enhancing its role in your solar lighting setup.
Additional Enhancements for a Polished Look
Beyond the three core techniques, consider these add-ons to further elevate your solar backyard lamps:
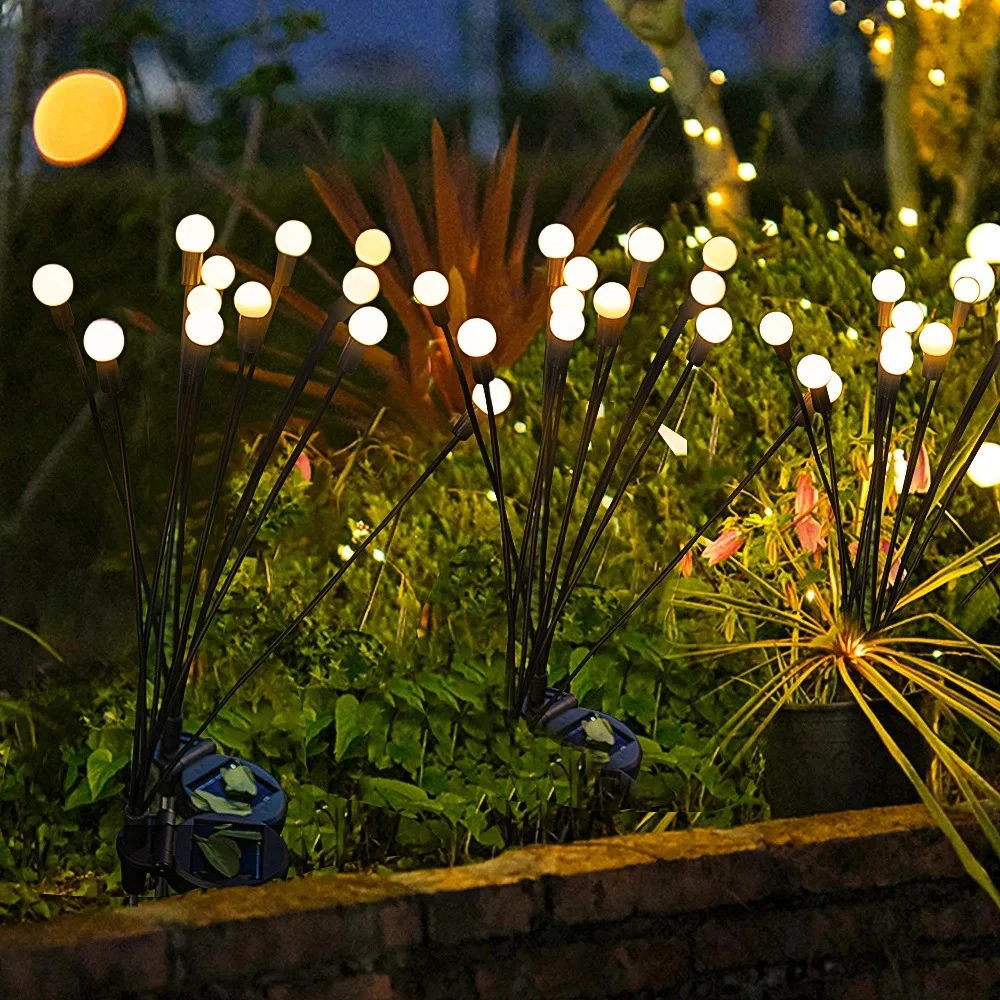
- Colorful LED Bulbs: Swap standard bulbs for warm or colored solar-powered LEDs to set the mood. Available for $10–$20.
- Hanging Accents: Add small wind chimes or crystal pendants near the lamp for a whimsical touch ($5–$15).
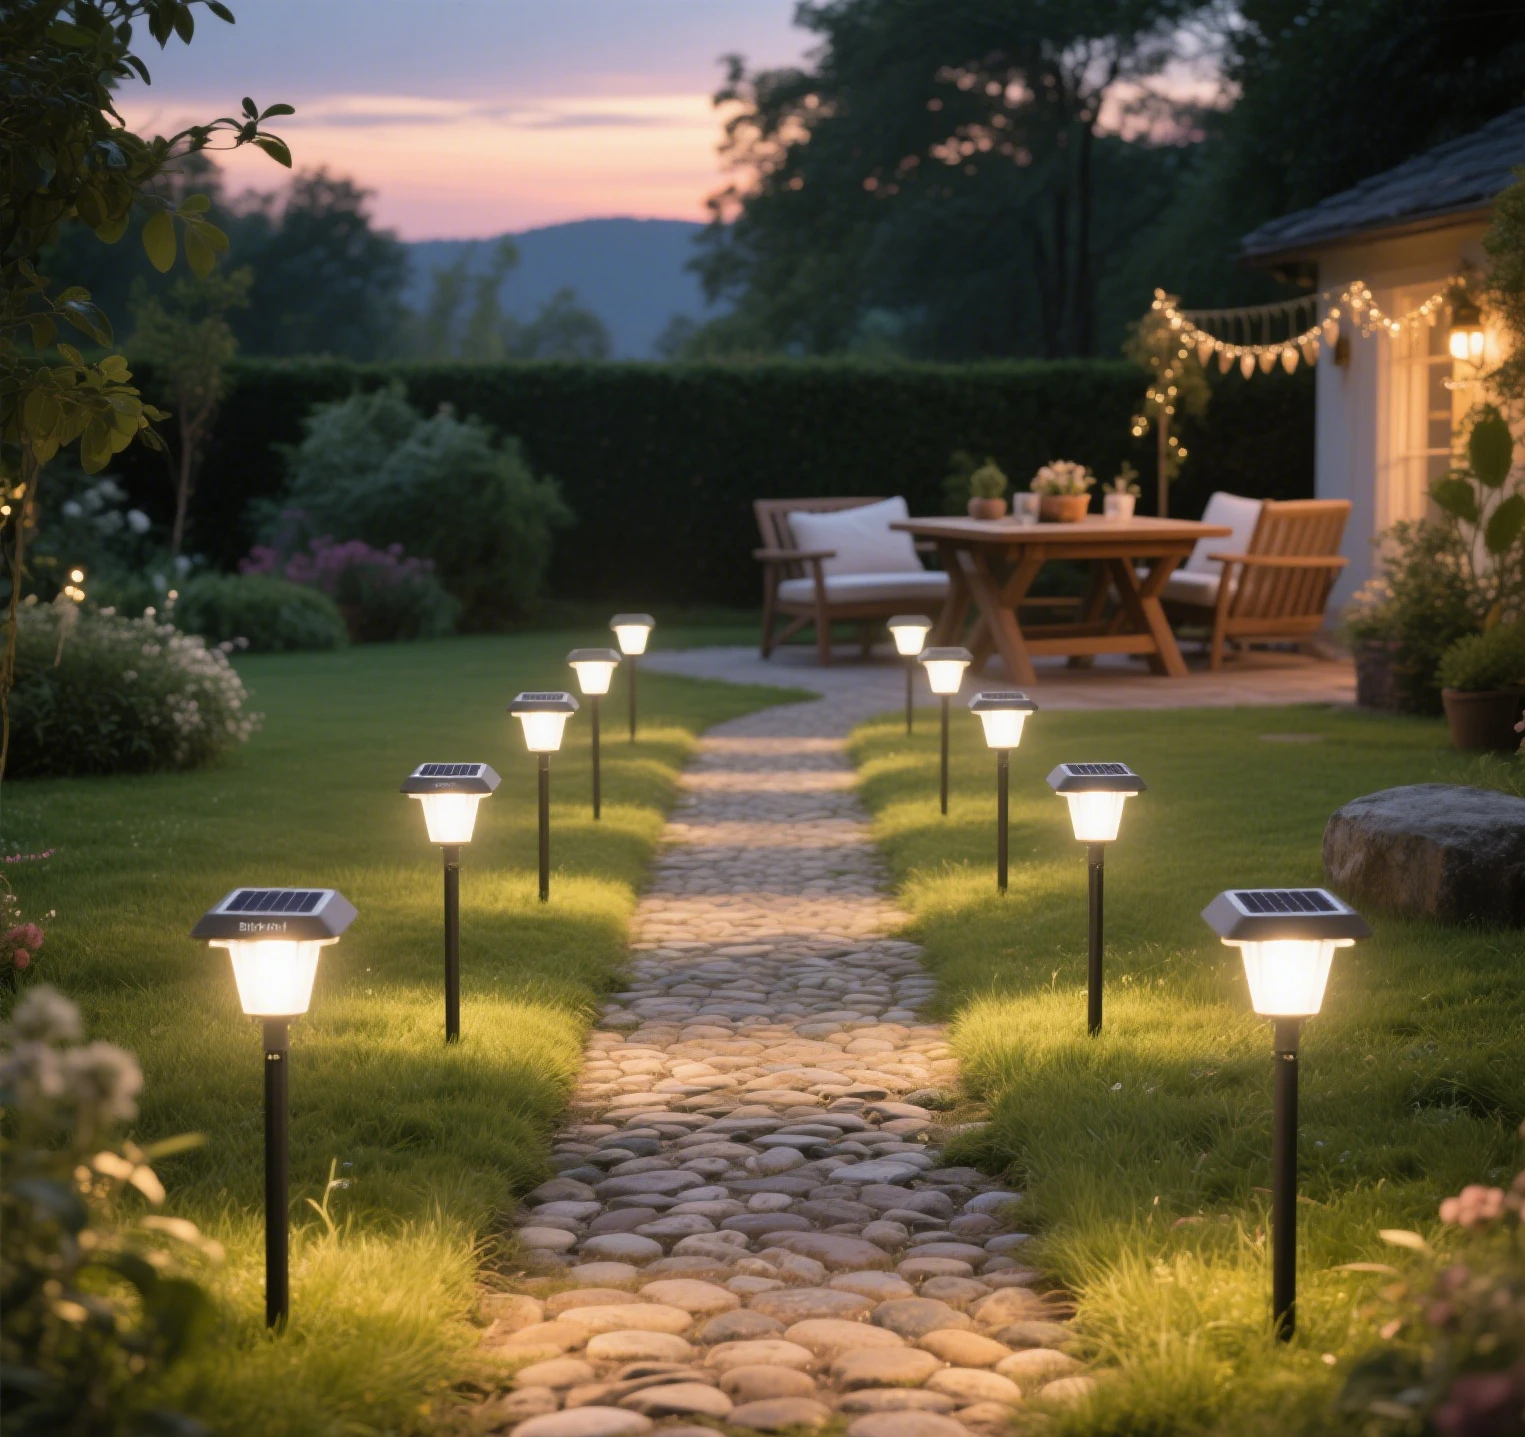
- Pathway Integration: Arrange multiple upgraded lamps along a pathway for a cohesive look, guiding guests through your outdoor space.
Practical Considerations for Longevity
To ensure your revamped solar lamps remain stunning:
- Clean Solar Panels: Dust or debris can reduce solar energy efficiency. Wipe panels monthly with a damp cloth.
- Check Battery Health: Most solar lamps use rechargeable batteries. Replace them every 1–2 years for optimal performance.
- Weatherproofing: Use sealants on all decorative elements to protect against rain, wind, and UV rays.
- Seasonal Adjustments: In winter, angle solar panels to maximize sunlight capture, ensuring consistent solar lighting.
Cost Breakdown and Time Investment
| Technique | Cost Range | Time Required |
|---|---|---|
| Pole Wrapping | $10–$20 | 30–60 minutes |
| Decorative Lampshades | $15–$25 | 45–90 minutes |
| Base Enhancements | $15–$30 | 60–120 minutes |
Total cost for all three upgrades ranges from $40–$75, with a time investment of 2–4 hours. These budget-friendly tweaks deliver professional results without breaking the bank.
Inspiration from Real-World Examples
Drawing from popular trends on platforms like Pinterest and Instagram, many homeowners have transformed their solar lamps into showpieces. For instance, a California-based gardener shared a viral post showcasing solar backyard lamps wrapped in hemp rope with succulent bases, garnering thousands of likes. Another trend involves using laser-cut lampshade stickers to project intricate light patterns, perfect for evening gatherings.
Leave a Reply