


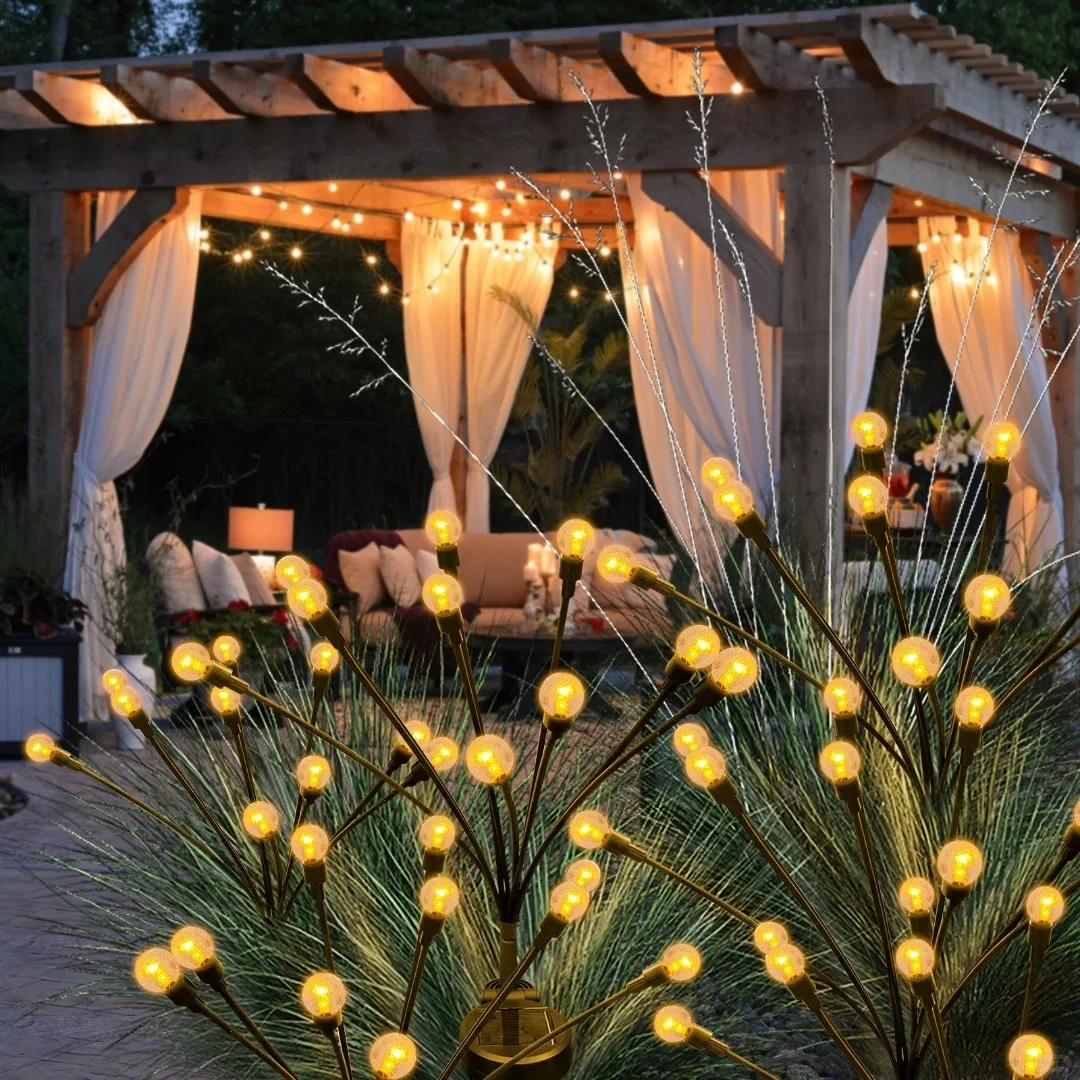
Firefly solar lights are an eco-friendly and aesthetically pleasing way to illuminate your outdoor spaces. These lights mimic the gentle glow of fireflies, adding a magical touch to gardens, pathways, or patios. Installing them is a straightforward DIY project that requires minimal tools and expertise. This guide provides a detailed, step-by-step process for installing firefly solar lights outdoors, along with practical tips and safety advice to ensure a smooth experience. Whether you’re a seasoned DIY enthusiast or a first-time installer, this tutorial will help you achieve a beautifully lit outdoor area.
Preparation: Tools and Materials Needed
Before starting, gather the necessary tools and materials to streamline the installation process. Proper preparation ensures efficiency and safety.
Tools and Materials:
- Firefly solar light kit: Includes the lights, stakes, solar panel, and mounting hardware.
- Screwdriver: A Phillips or flathead, depending on the kit’s screws.
- Measuring tape: To space lights evenly.
- Shovel or trowel: For digging holes if ground stakes are used.
- Level: To ensure straight installation.
- Cleaning cloth: To wipe the solar panel for optimal performance.
- Optional: Drill: For securing mounts on hard surfaces like wood or concrete.
- Optional: Waterproof sealant: To protect connections in wet climates.
Additional Considerations:
- Check the solar light kit for all components and read the manufacturer’s manual.
- Ensure you have a sunny location, as solar panels require at least 6-8 hours of direct sunlight daily.
- If installing in winter, account for shorter daylight hours, which may affect charging.
Step-by-Step Installation Process
Follow these steps to install your firefly solar lights effectively. Each step is designed to maximize functionality and visual appeal.
Step 1: Choose the Ideal Location
Selecting the right spot is critical for both aesthetics and performance. Firefly solar lights thrive in areas with ample sunlight and minimal obstructions.
- Assess sunlight exposure: Identify a location with direct sunlight for most of the day. Avoid areas shaded by trees, buildings, or fences.
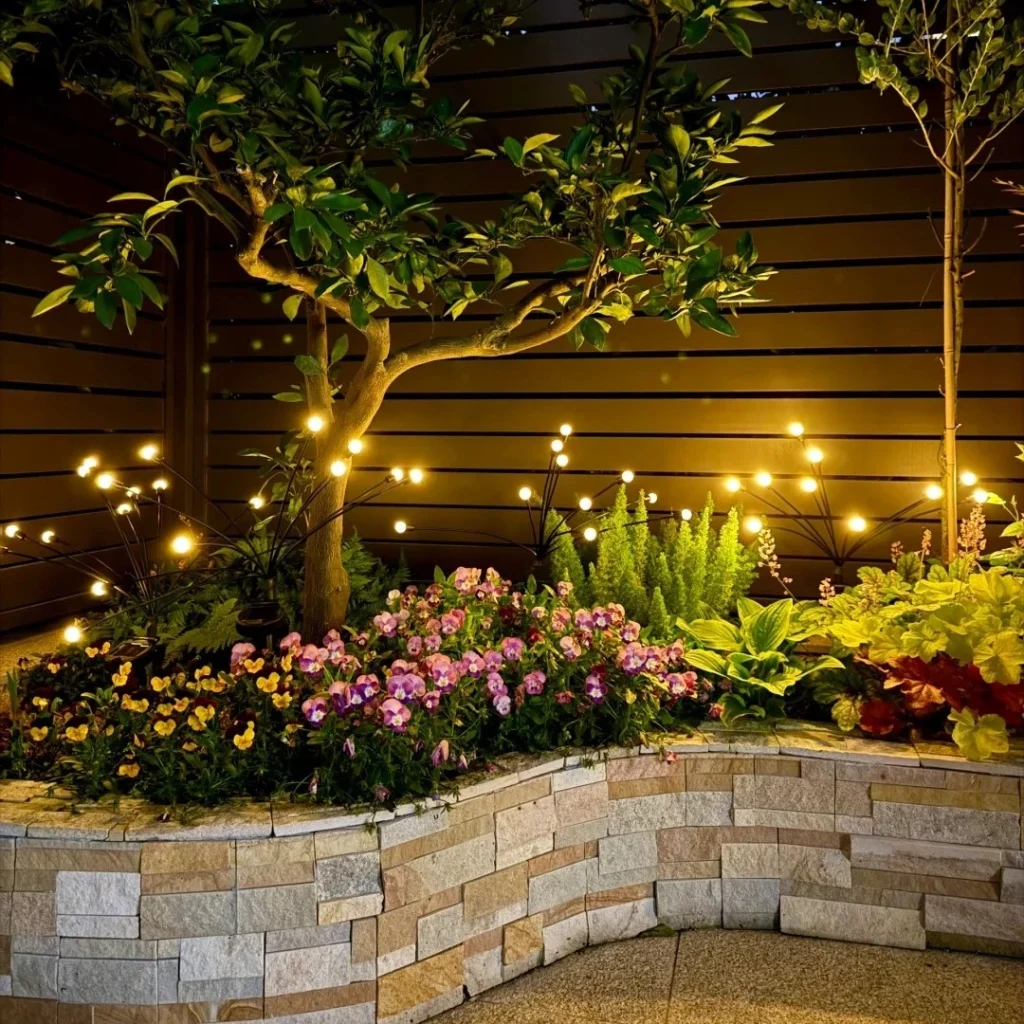
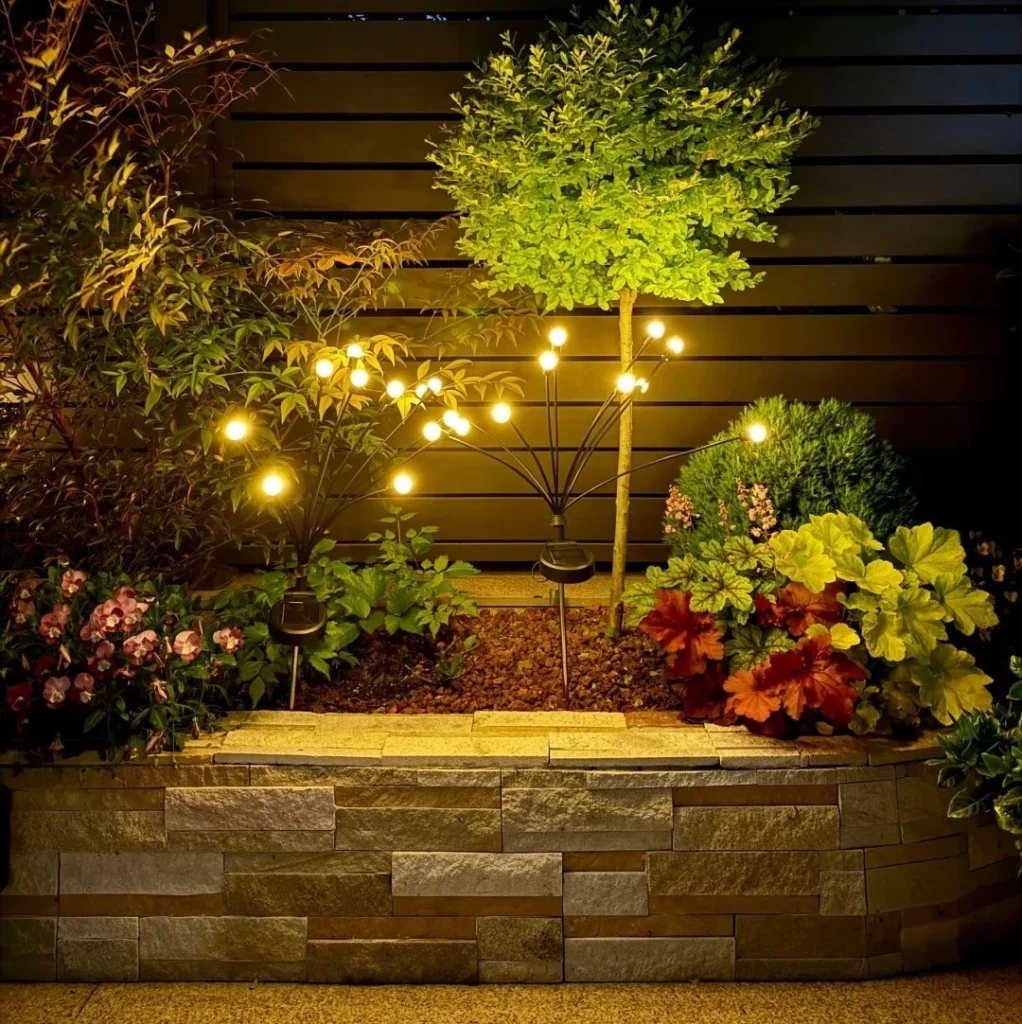
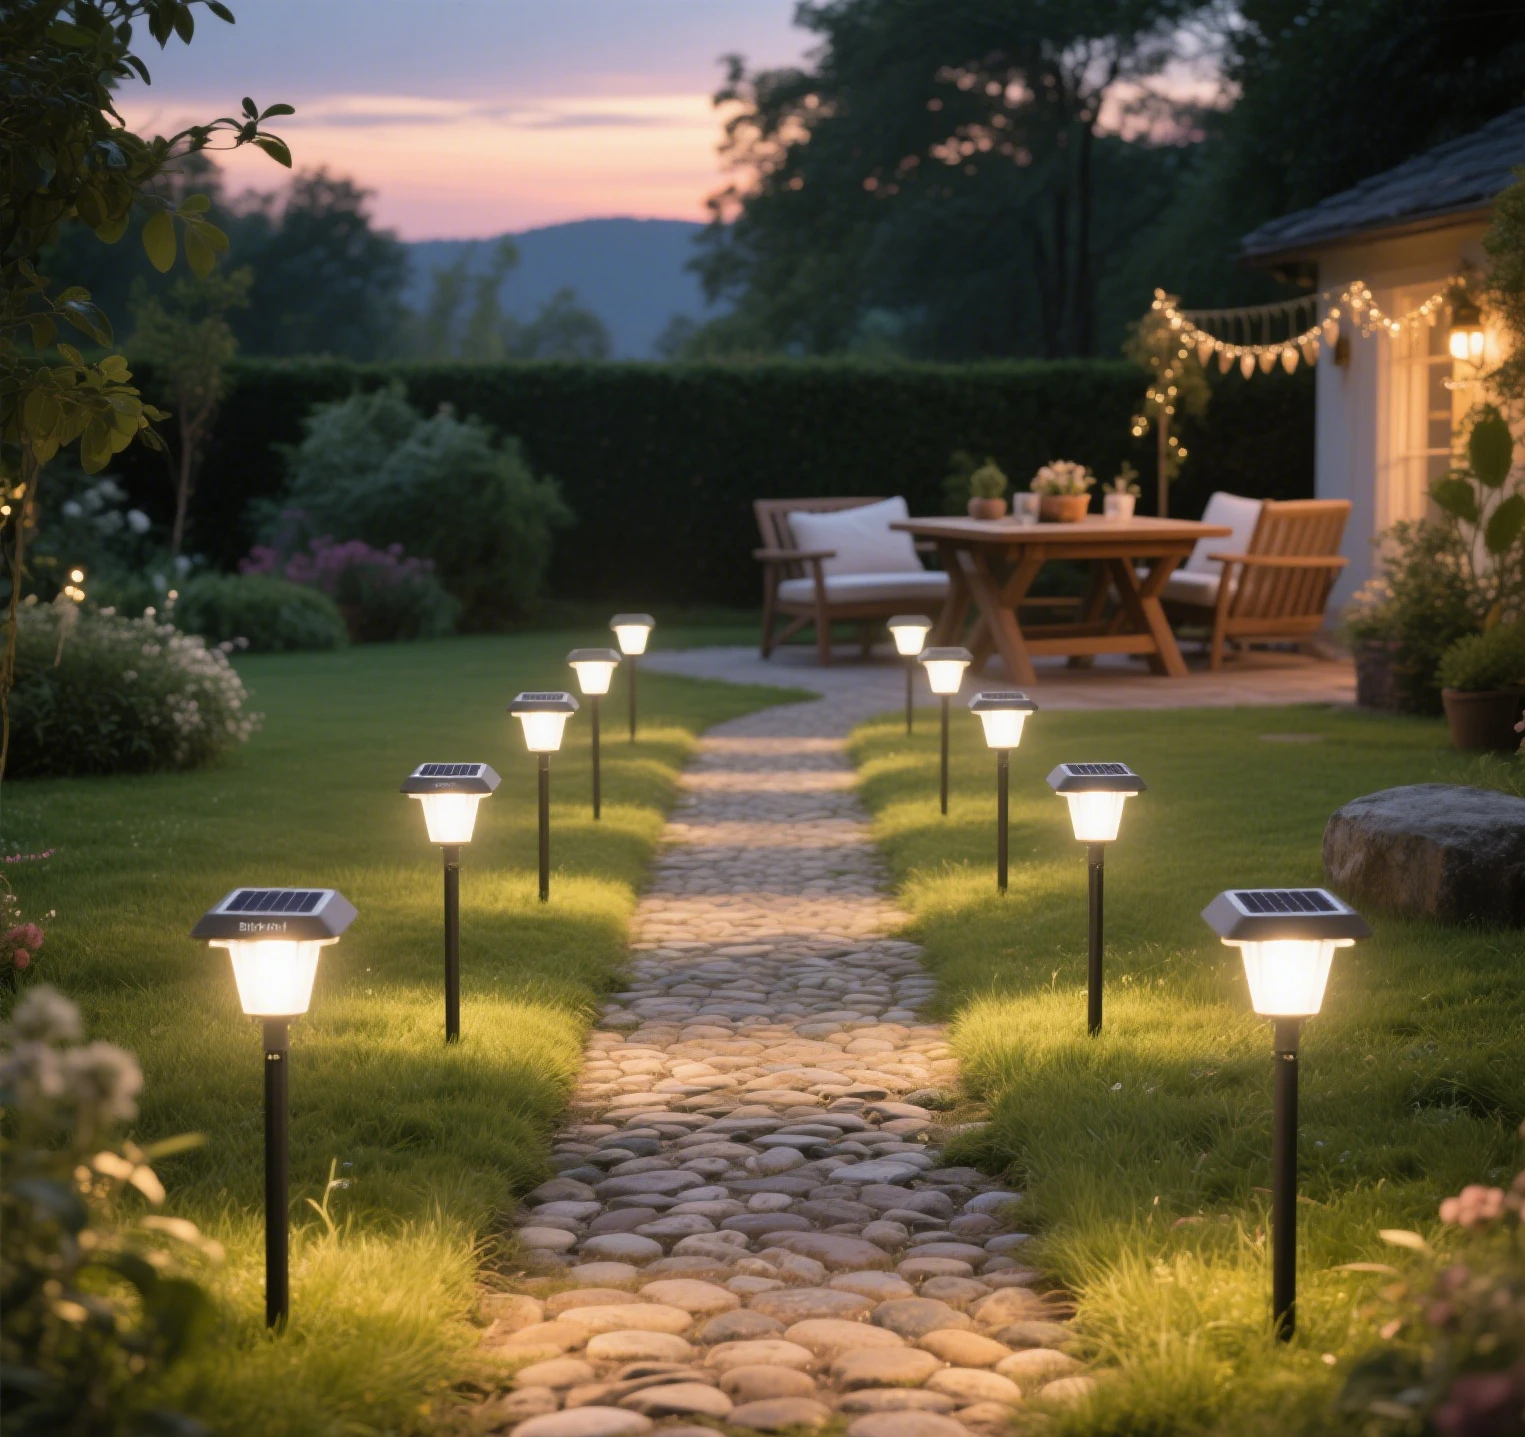
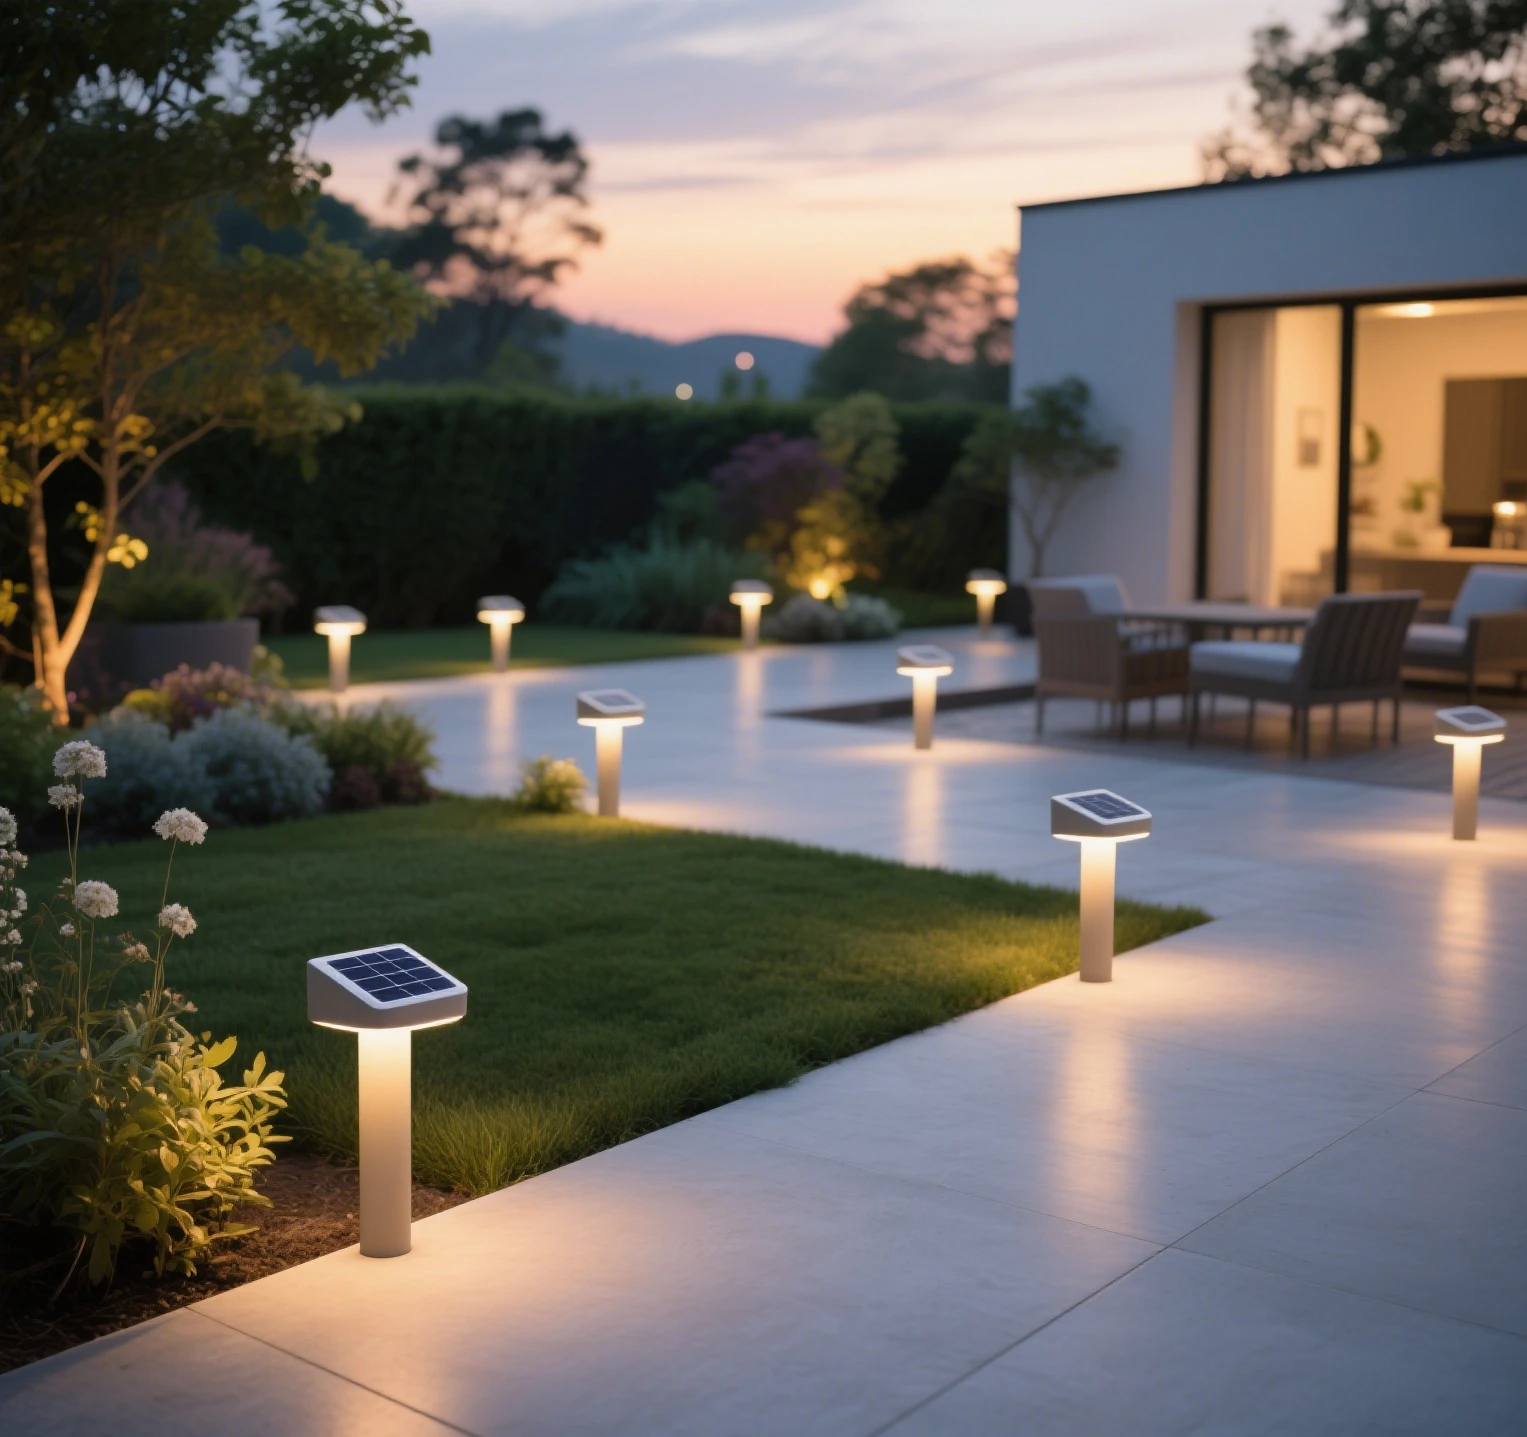
- Consider aesthetics: Place lights along pathways, garden borders, or near seating areas to enhance ambiance. Firefly lights look best when spaced 1-2 feet apart for a natural, twinkling effect.
- Check ground conditions: Ensure the soil is soft enough for stakes or that mounting surfaces are stable.
Step 2: Plan the Layout
Before installing, map out the placement of each light to ensure even spacing and coverage.
- Use a measuring tape to mark spots for each light. For a cohesive look, maintain consistent distances (e.g., 18 inches apart).
- Test the layout by placing lights temporarily without securing them. Turn them on at dusk to visualize the effect.
- If the kit includes a separate solar panel, position it where it will receive maximum sunlight, within the cable’s reach of the lights.
Step 3: Install the Lights
The installation method depends on whether your lights use ground stakes or surface mounts.
For Ground Stakes:
- Insert stakes: Push the stake of each light into the ground at the marked spots. Use a trowel to loosen hard soil if needed.
- Check stability: Ensure each stake is firmly in place and upright. Use a level to confirm they’re straight.
- Attach lights: Secure the firefly light heads to the stakes, following the manufacturer’s instructions. Most snap or screw into place.
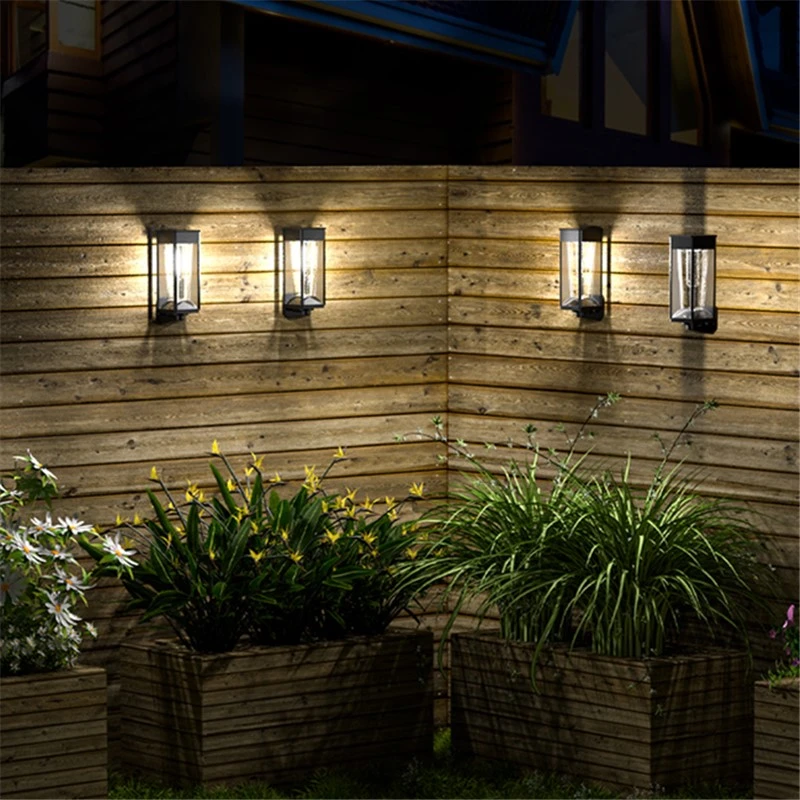
For Surface Mounts:
- Mark mounting points: Use a pencil to mark where screws or brackets will go on surfaces like decks or walls.
- Secure mounts: Use a screwdriver or drill to attach the mounting brackets. For concrete, use a masonry bit and anchors.
- Attach lights: Clip or screw the lights onto the mounts, ensuring they’re secure.
Step 4: Position the Solar Panel
The solar panel powers the lights, so its placement is crucial for efficient charging.
- Mount the panel on a stake, pole, or wall in a spot with unobstructed sunlight.
- Angle the panel to face the sun’s path (south-facing in the Northern Hemisphere). A 30-45° tilt is ideal in most regions.
- Connect the panel to the lights using the provided cable. Ensure connections are tight and weatherproof.
Step 5: Test and Adjust
Once installed, test the system to confirm everything works as expected.
- Clean the solar panel: Wipe it with a damp cloth to remove dust or debris, ensuring maximum efficiency.
- Charge the lights: Let the panel charge for 8-12 hours in sunlight before testing.
- Test at night: Turn on the lights to check brightness and alignment. Adjust angles or positions if the glow isn’t uniform.
- If the lights don’t work, check connections, ensure the panel is in sunlight, or consult the manual for troubleshooting.
Practical Tips and Safety Advice
To ensure a successful installation and long-lasting performance, consider these tips and precautions.
Safety Tips:
- Avoid electrical hazards: Since firefly solar lights are solar-powered, there’s no risk of electrical shock, but ensure cables are not frayed or exposed.
- Use stable surfaces: When mounting on walls or decks, confirm the surface can support the weight of the lights and panel.
- Protect against weather: In areas with heavy rain or snow, apply waterproof sealant to connections or choose a kit rated for extreme weather.
- Handle tools carefully: Wear gloves when digging or drilling to avoid cuts or blisters.
Maintenance Tips:
- Clean regularly: Wipe the solar panel every few months to prevent dust buildup, which can reduce efficiency.
- Check batteries: Most firefly solar lights use rechargeable batteries. Replace them every 1-2 years or as recommended by the manufacturer.
- Store in winter: In regions with harsh winters, consider storing lights indoors to protect them from freezing temperatures.
Common Issues and Solutions:
- Lights not turning on: Ensure the solar panel is in direct sunlight and fully charged. Check for loose connections or a faulty switch.
- Dim glow: Clean the panel or reposition it for better sunlight exposure. Replace old batteries if needed.
- Uneven lighting: Adjust the height or angle of lights for consistency. Ensure stakes are at the same depth.
Visualizing the Installation
For a clearer understanding, consider referencing visual aids:
- Diagrams: Many firefly solar light kits include installation diagrams in the manual. These show stake insertion, panel angles, and cable routing.
- Videos: Search for manufacturer-specific installation videos on platforms like YouTube. Look for tutorials from reputable brands or DIY channels (e.g., “How to Install Solar Firefly Lights” by a trusted home improvement channel).
- Photos: Take pictures of your layout during the day and at night to assess spacing and effect. Adjust as needed for the best look.
Conclusion
Installing firefly solar lights outdoors is a rewarding DIY project that enhances your home’s ambiance while being eco-friendly. By carefully choosing a location, planning the layout, and following the installation steps, you can create a stunning display with minimal effort. Regular maintenance and attention to sunlight exposure will keep your lights glowing brightly for years. With this guide, you’re equipped to tackle the project confidently, whether you’re lighting a garden path or creating a cozy patio atmosphere. Get started today and enjoy the enchanting glow of firefly solar lights in your outdoor space!
Leave a Reply